Canon 1dx Mark 2: https://www.amazon.com/dp/B01B6OTTIM?tag=parkerwalbe01-20
Canon 24-70mm 2.8 https://www.amazon.com/dp/B0076BNK30?tag=parkerwalbe01-20
Sigma ART 85mm 1.4 https://www.amazon.com/dp/B01M0UO0HX?tag=parkerwalbe01-20
Glidecam HD 4000 https://www.amazon.com/dp/B00TYOCX3A?tag=parkerwalbe01-20
Movi M5 https://www.amazon.com/dp/B017GW1L1G?tag=parkerwalbe01-20
To view all other equipment used in my videos click here: https://kit.com/parkerwalbeck
Hey guys! Parker Walbeck here with Full Time Film Maker! Here we are going to discuss one of my most frequently asked questions of “How to Keep a Subject in Focus while moving?”
So we are going to go over my top 4 ways of how to keep focus, both auto and manual focus. Following which we will go in depth to 10 tricky scenarios for keeping a subject in focus and some solutions to each.
Gear and Equipment
Now the gear we are using today is a RED camera (which doesn’t have auto focus, it is completely manual) and a Canon 1dx Mark 2, which has canon’s dual pixel auto focus system, which in my opinion, is the best in-video auto focus system on the market, and we’ll cover using both manual and auto focus on a glide cam, 3 axis gimbal, and handheld.
I’m not going to go over each manufacturer and their specific auto focus settings, Panasonic doesn’t have great auto focus systems, Sony is pretty good, Canon I feel is the best, and cinema cameras like RED won’t even offer such a thing.
Now the first obvious solution for keeping a subject in focus especially with cinema cameras like a RED would be to buy an expensive focus pulling system and potentially hire a person who could be a dedicated focus puller. That would be ideal! However, Considering most people don’t have the budget for this, we are going to go give you some solutions to keeping sharp focus all on your own without any fancy system.
So first I’m going to give you my 4 main solutions to keeping a subject in focus then we’ll go over several different scenarios showing you how I apply the 4 tips I am going to teach right now!
The FOUR Ways to Keep your Subject in Focus
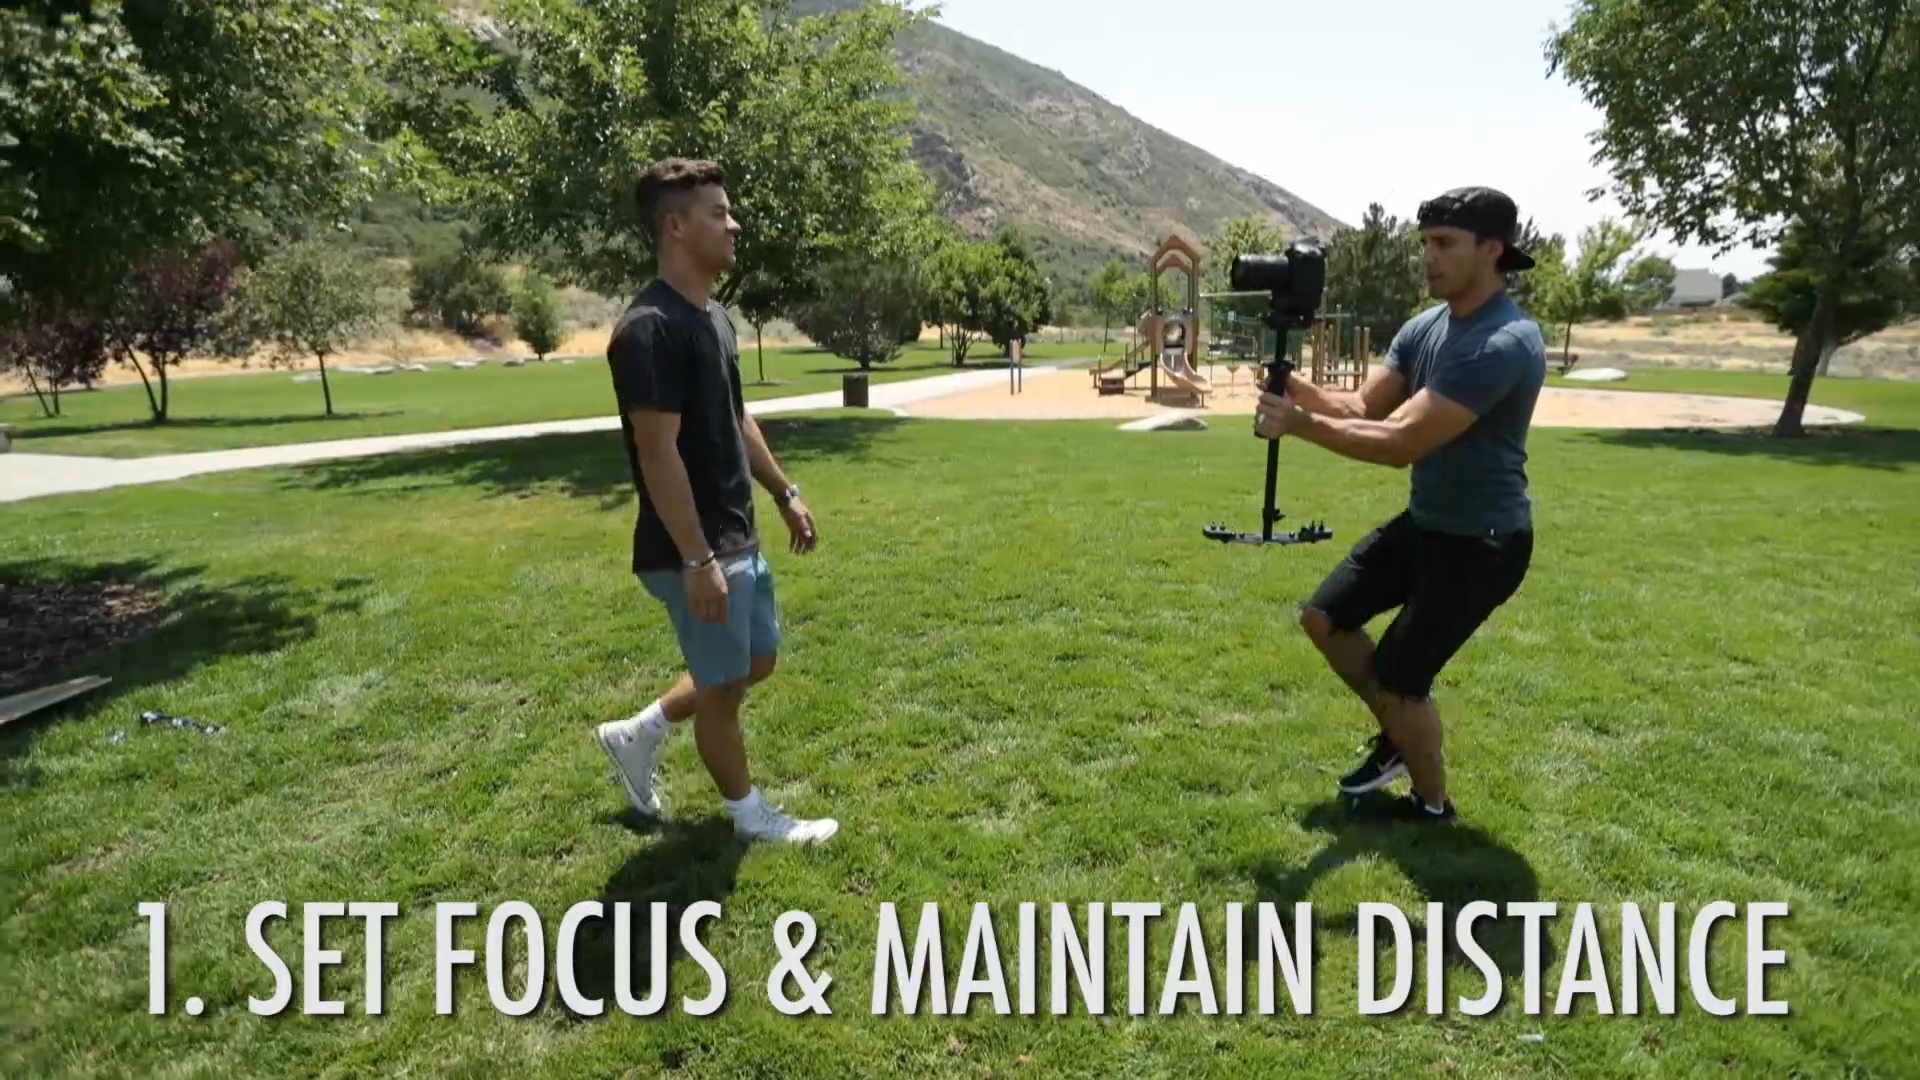
Option #1 – Maintain the same distance from your subject once your focus is set throughout the whole shot.
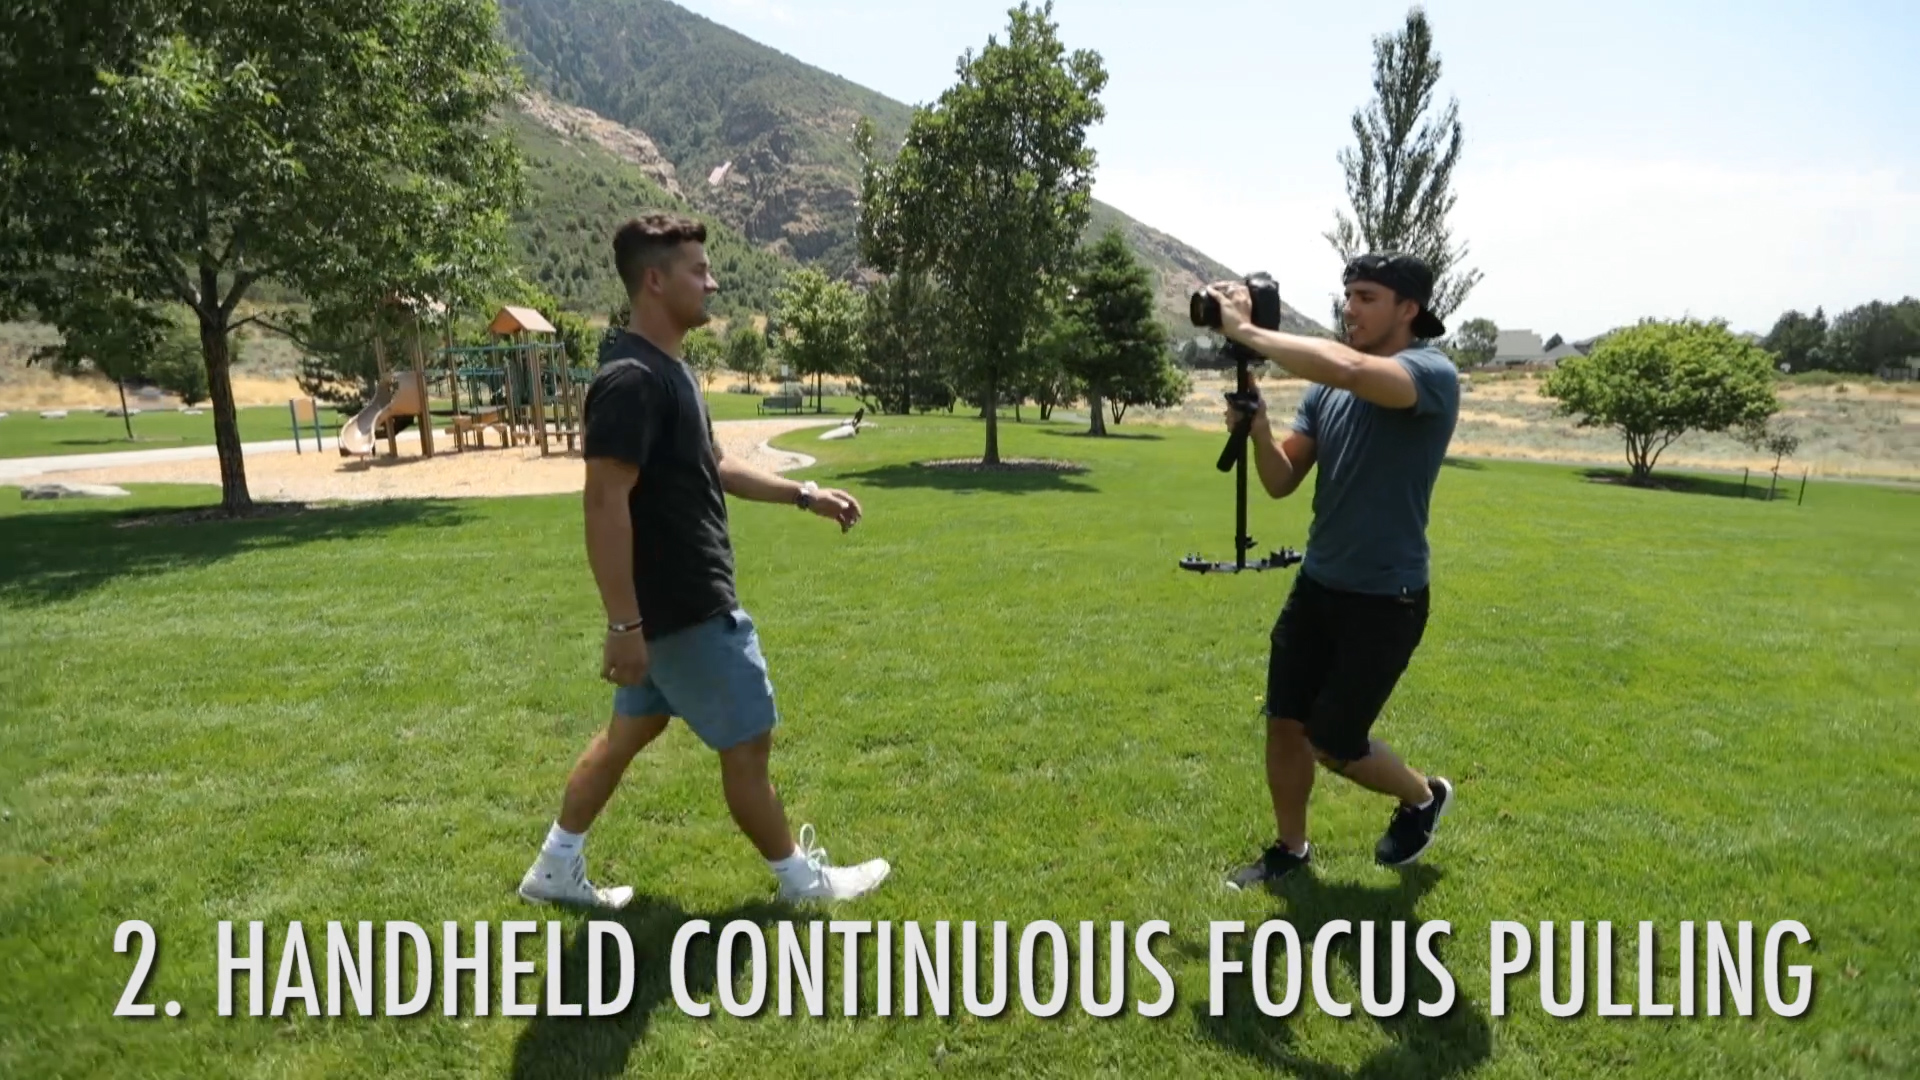
Option #2 – Handheld Look – For a more hand-held look, I will just hold the shaft of the glide cam with my off-hand and pull focus as I move closer or farther from my subject with my other hand.
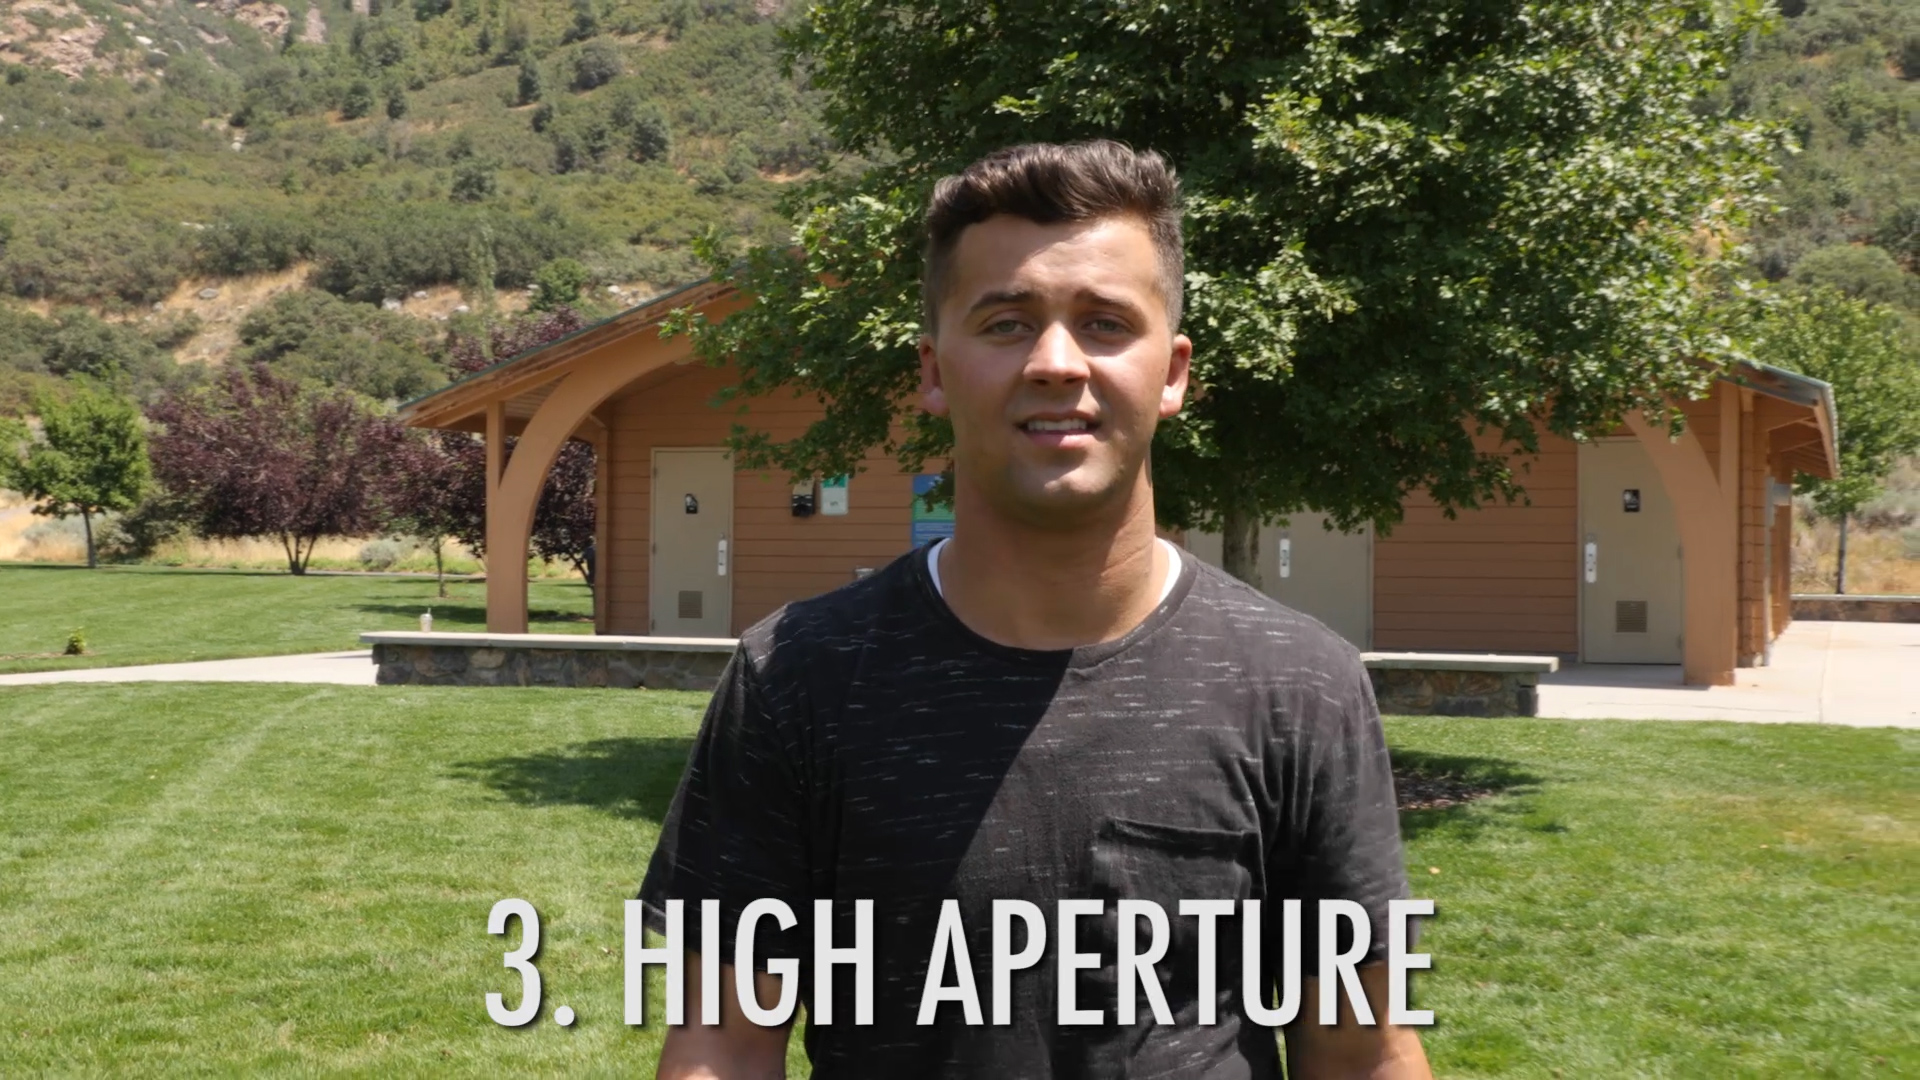
Option #3 – Use a higher aperture (16-22), and that way you will lose your shallow depth of field, BUT everything will be in focus. I’ll often do when shooting wide-angle shots because with wide-angle lenses, you’re going to have more in focus anyway, so you might as well bump up your aperture to ensure that you have a sharper image. You can get closer, further away, but your subject will always stay in focus.
Option #4 – Buy a camera with a good auto focus system like the Canon’s Dual Pixel auto focus system which can be found in some of their newer cameras like the Canon SL 2, the 80d, the 6d mark ii, the 5d m4, the 1dx mark II, and the C200. Some of those cameras will do better than others depending on how many tracking points they have but the point is you can use canon’s dual pixel system in just about every price range.
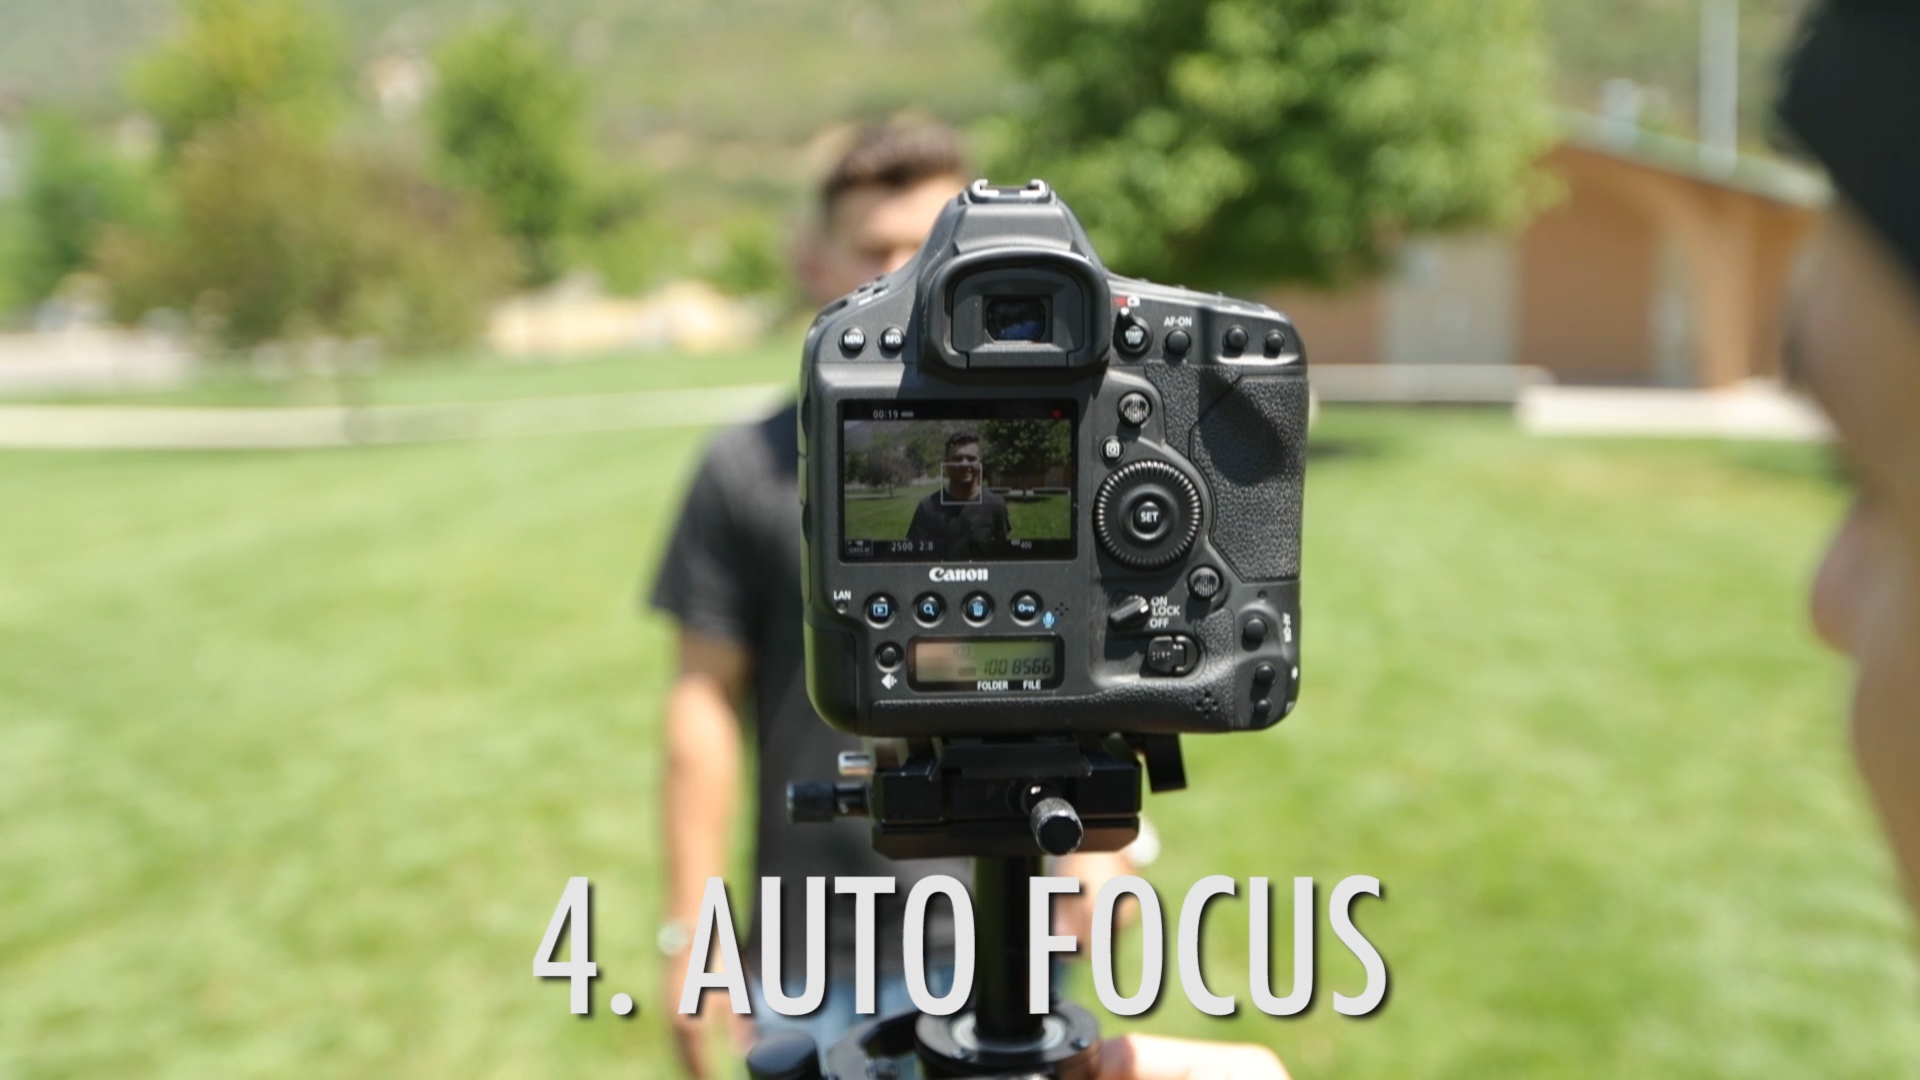
I will be referring back to these 4 options throughout the whole article so keep it in mind!
SO now lets take a look at a few real life scenarios and some options to tacking the focus.
How to Maintain Focus on Your Subject for Different Scenarios?
Scenario #1 : Moving towards or away from a subject or the subject moving towards or away from you.
This is probably the most common scenario for having focus issues.
So let’s run through our options:
Option #1 – Set focus, then maintain distance. Now when I’m filming a wedding or an event of some kind that requires me to capture things very quickly so I don’t have time to fidget with my focus ring and/or the sun is super bright so I can barely see my LCD screen to know if what I’m shooting is even in focus, I will quickly shift my camera to photo mode, grab focus, shift back to video, record, and keep that distance. Most DSLR’s, even if they don’t have a good video auto focus feature, will at least have a good photo auto focus feature, so I can nail focus within 3 seconds and start capturing. Then if I decide I want to get closer to my subject, I’ll quickly flip to photo mode, grab focus again, flip back to video mode, and roll. That’s a super fast way to ensure you are always in focus, as long as once you grab that focus, you stay close to the same distance from that subject. Keep in mind though that it’s not always a bad thing to have your subject go in and out of focus (maybe you want that Artsy look) A lot of times I’ll let my focus at a certain point, then purposefully move farther away, and then bring my camera to that point to create a cool effect of my subject coming into focus.
Option #2 – Go for more of a handheld look and rack focus. For this option, I will move my hand to the shaft of the glide cam and bring my other hand up to the lens to pull continuous focus. Now, if you are wanting a perfectly smooth shot, this isn’t the best solution, but for situations where you can’t predict your subject, like events when there’s a lot of people and you don’t know where they are going to go next, this is my preferred method because a slightly handheld shot that is in focus is always better than perfectly smooth shot that is out of focus so sometimes I sacrifice the exact camera movements I want to do in order to ensure that I nail the focus.
If you’re glide cam is balanced correctly it will still stable your shot and be smoother than just putting your hands directly on the camera. This option #2 doesn’t really work for 3 axis gimbals, which is one of the main reasons I don’t use 3 axis gimbals for unpredictable subjects, because if I try to pull focus on my lens with a movi, it messes up the motors and ruins your shot. So though 3 axis gimbals are going to give you smoother shots, they will also limit your versatility.
Option #3 – Use a higher aperture. Now this is my least favorite option as I LOVE shooting at low apertures to get that shallow depth of field because in most cases I think it looks more cinematic, but there are situations, like wide-angle landscapes, where I want everything in focus, so I bump that aperture up somewhere between 11-22 depending on how much light I have.
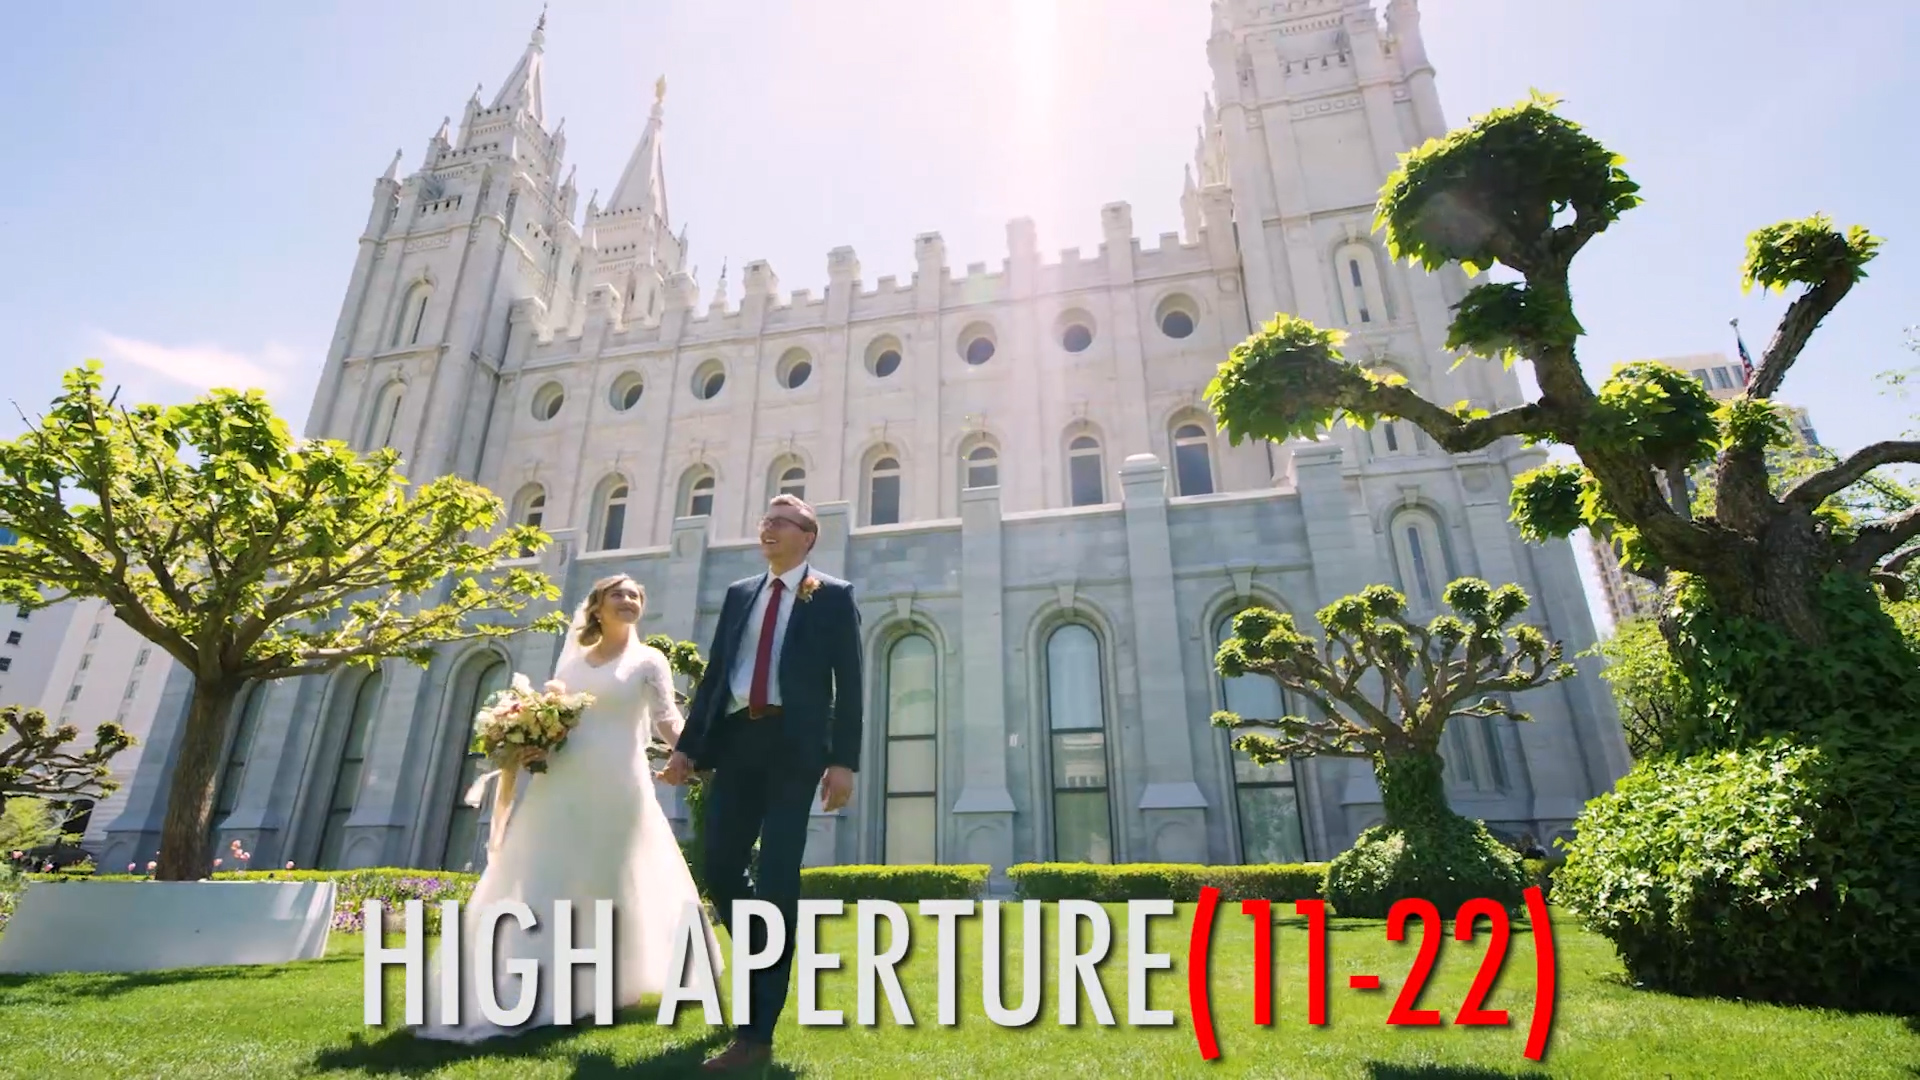
This will increase your range of focus, giving you more room to move towards and away from a subject and they’ll stay in focus the whole time. The downside however, is that you won’t have the background blur, so this option is best used in scenarios like landscapes where you WANT everything to be in focus.
Option #4 – Use auto focus. This is quickly becoming one of my favorite options as in video auto focus technology continues to advance, I understand this isn’t an option for everyone depending on what camera you own, but I believe that within a few years, as technology advances, reliable auto focus systems will be standard in most cameras, so I think it’s important to start learning how to use it to your advantage.
Because Canon has the most reliable system, that is the one I use and will be teaching from. There are two main auto focus settings you can choose, the first and the one I use most is called FlexiZONE, which allows you to use the touch screen and choose any part of your frame to stay in focus.
So for this shot, I would choose where in the frame I want my subject to be, and then keep them in the center of the white focus box shown on canon cameras and it will keep them in focus no matter how close or far I move.
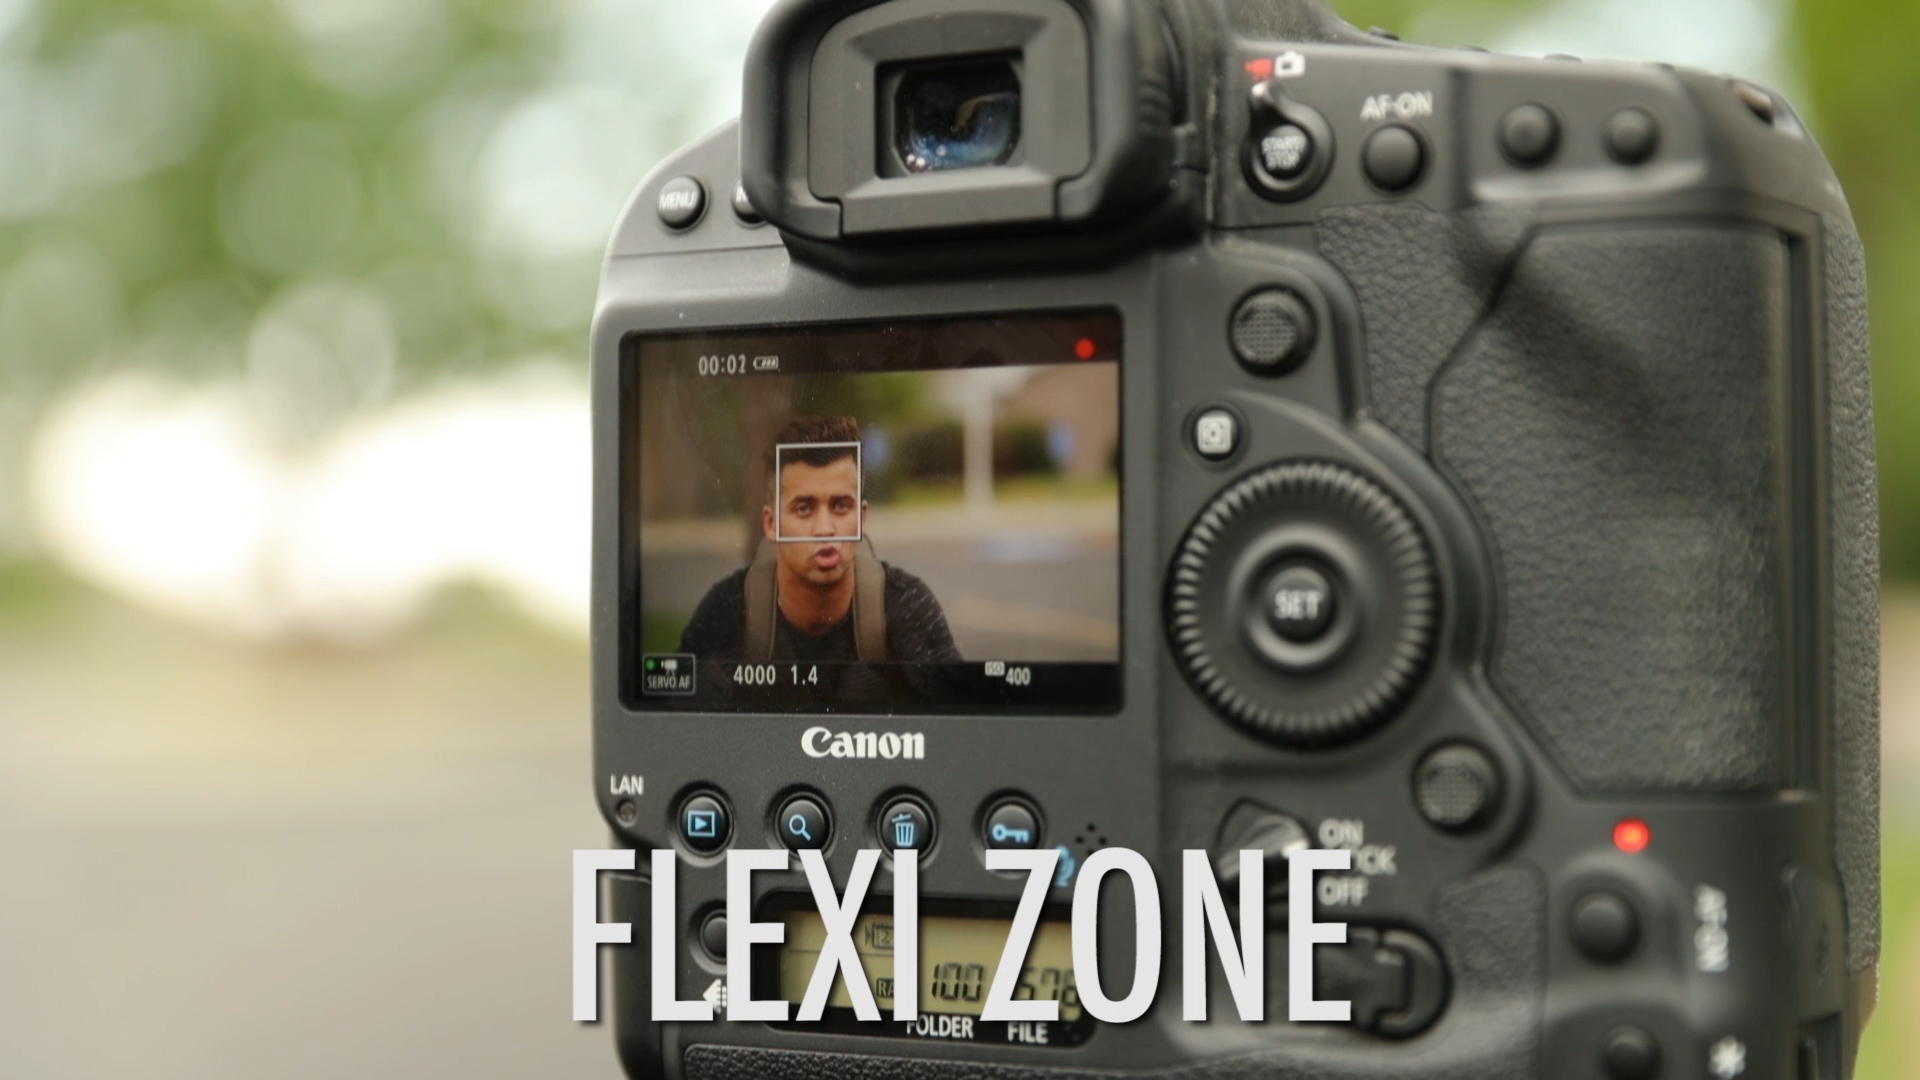
If I choose to change my framing, I simply tap a new spot on the frame, and again, keep them in the center of that white square.
The second setting is called Tracking, which will track a specific subject you select, no matter where they go in the frame. I’ve found the flexizone to be more reliable as the tracking setting can sometimes get confused if there’s multiple people in a shot or if your subject goes behind something it can lose track, so I usually stick to Flexi Zone, considering you arent filming just ONE person. If that is the case, tracking is an easier option.
Scenario #2: Using a 3 axis gimbal from a moving vehicle, tracking a person or another car.
So for this one we’re using our RED which has no auto focus, so option 4 as explained above isn’t an option. Since we’re using a Movi, option 2 isn’t an option. I either have to maintain distance, or raise my aperture, so let’s try both. First we’ll try option 1, set focus and maintain distance. So I’ll set my focus for this distance, tell the driver to drive at a consistent speed, and tell my subject that as they jog they need to stay the same distance from me the whole time. And then I’d probably do different angles and focal lengths to be able to edit a sequence together. The two best options here are option 1 and 3. Maintain distance, or shoot at a higher aperture.
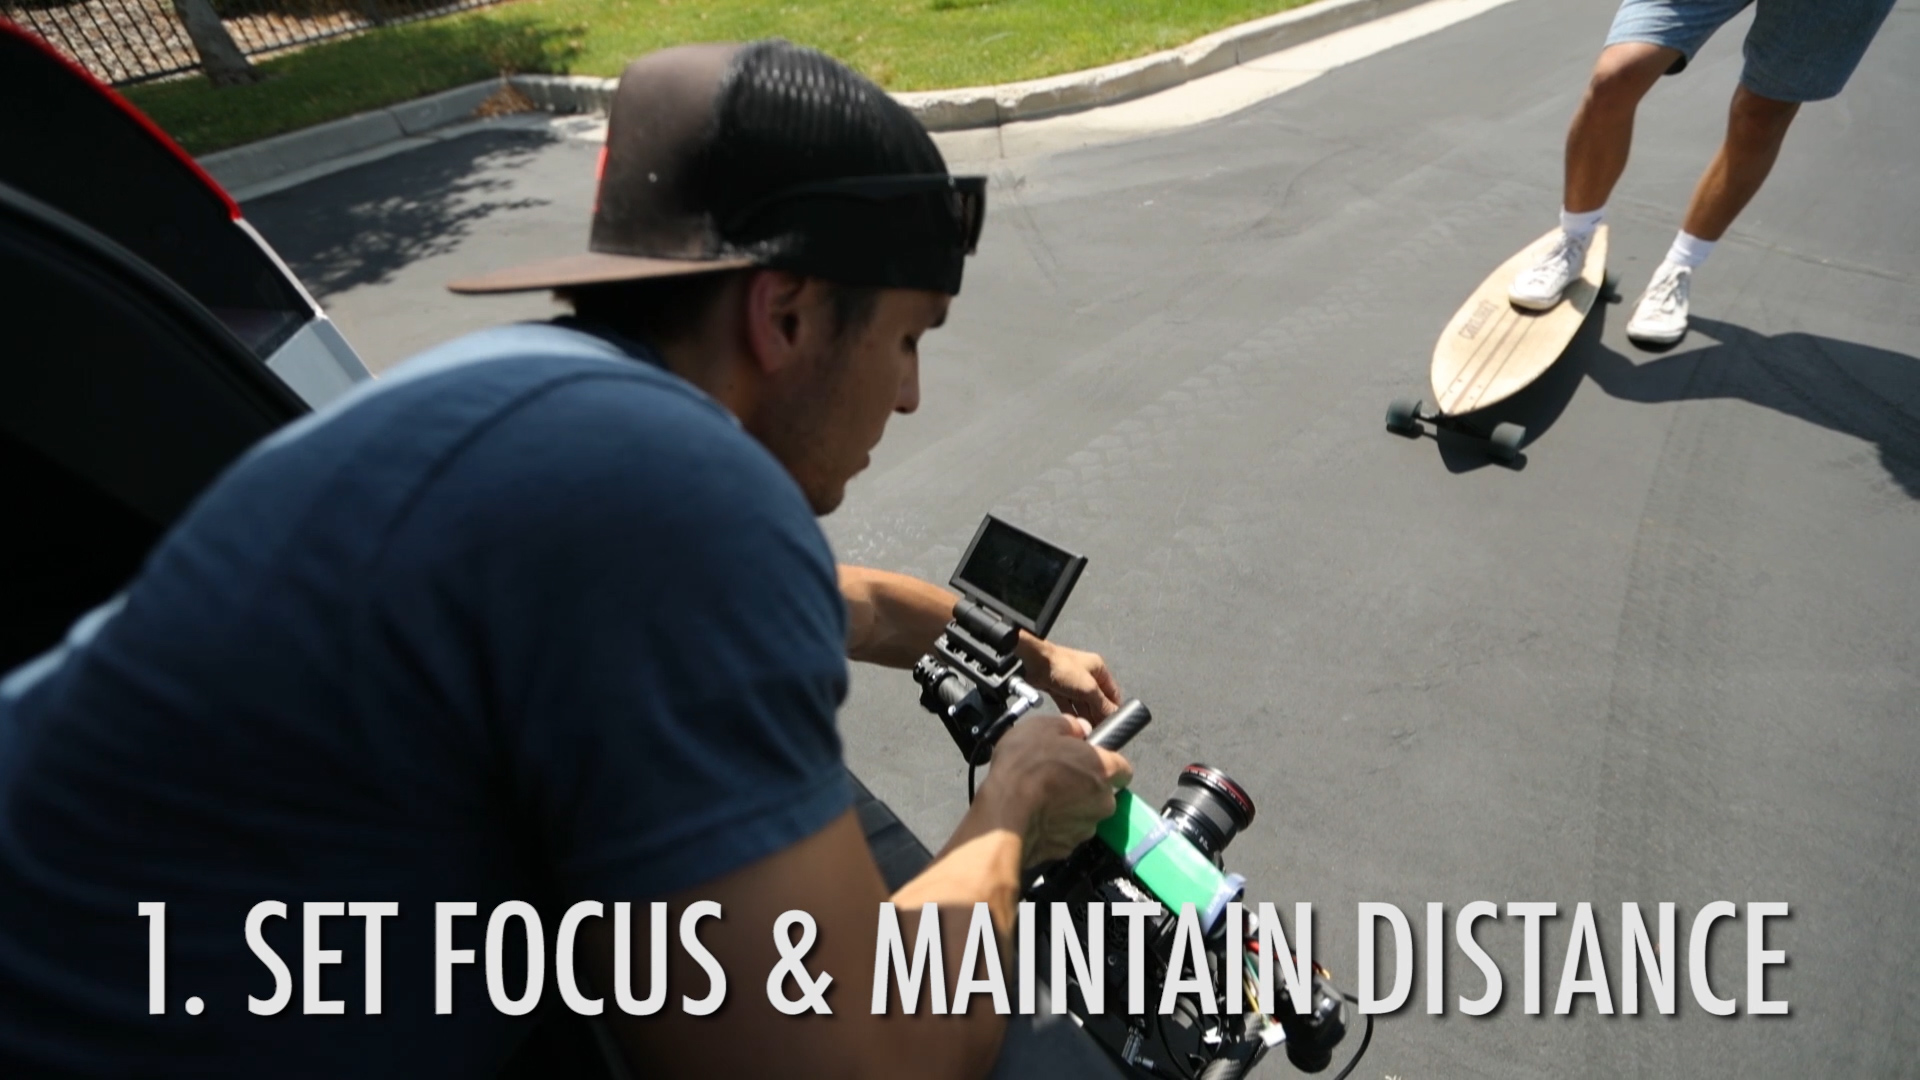
So with a 16 aperture which gives us more room for error while still keeping our subject in focus, but we do lose our shallow depth of field, so just have to decide which look you want. This is how I filmed the Smoke Grenade Free Board video in San Francisco; me hanging out of the back of a car while holding a movi with high aperture.
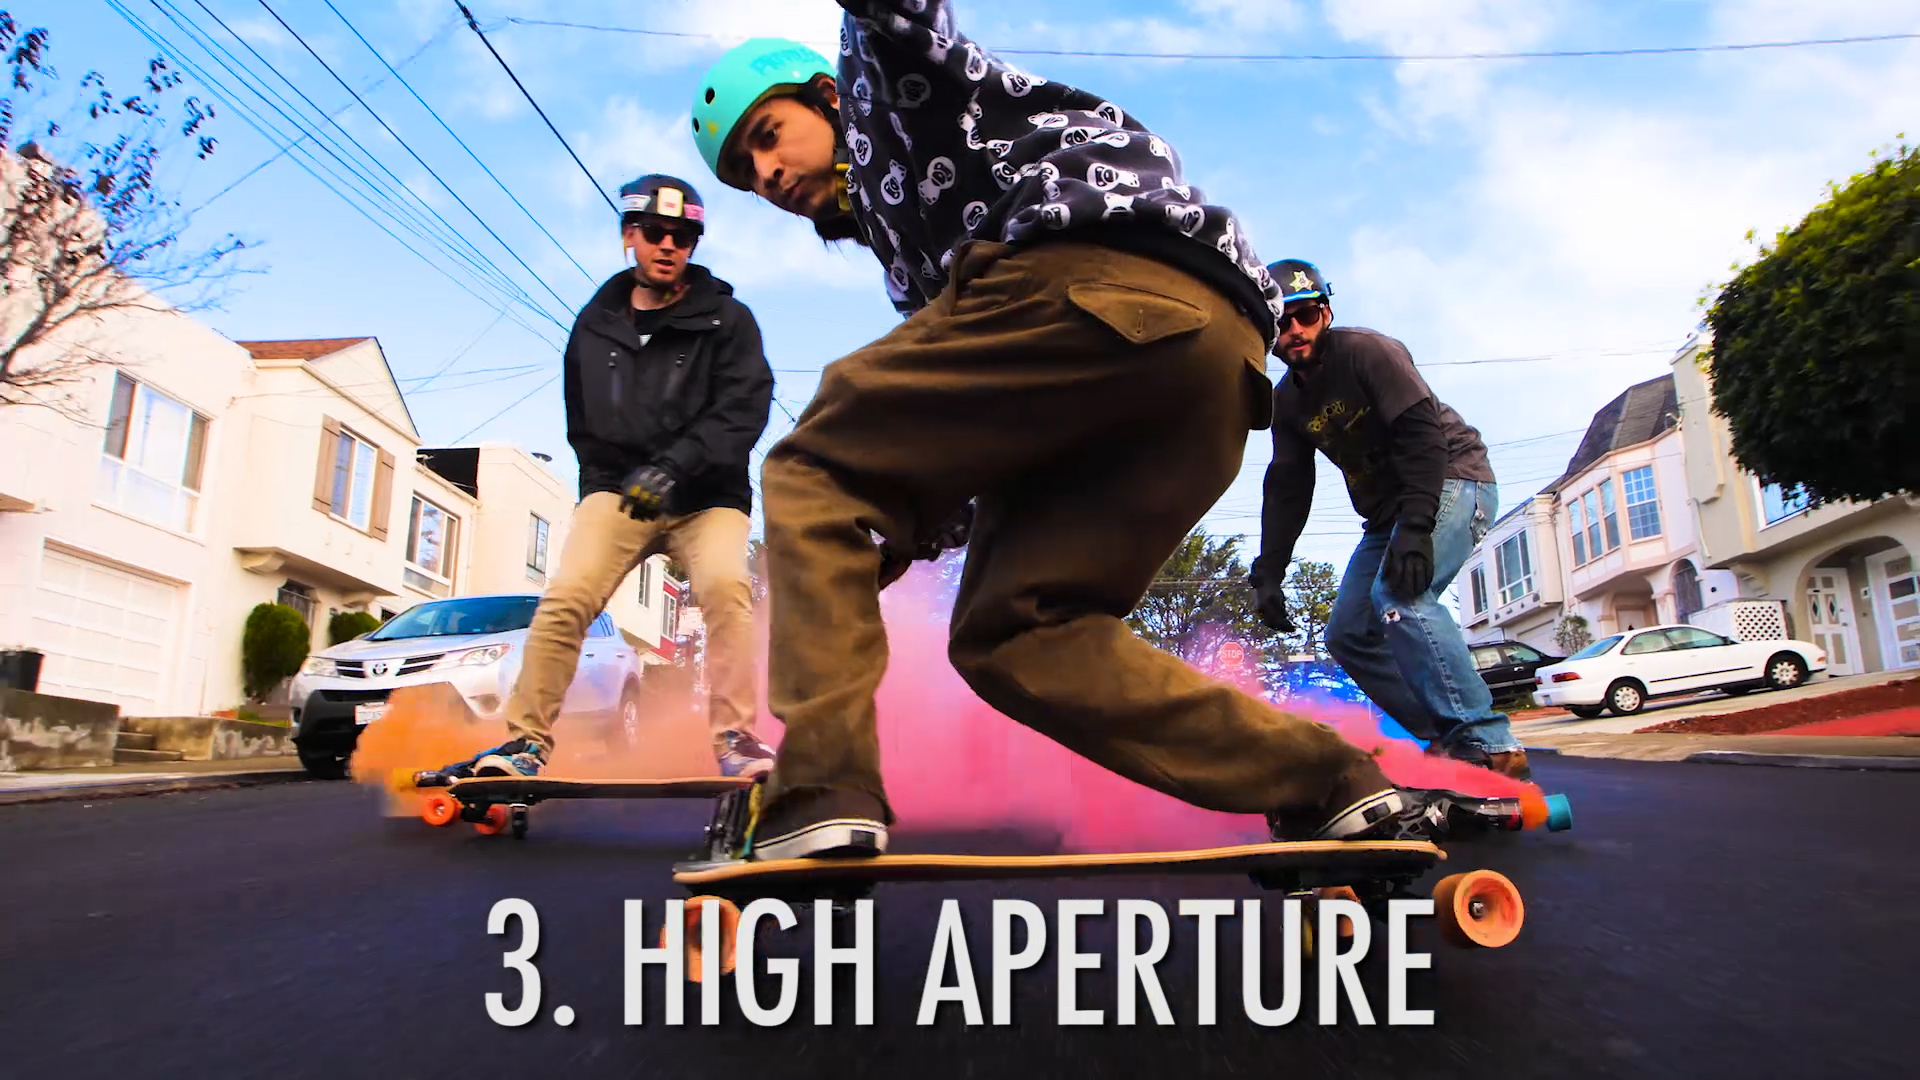
Scenario #3 Low Light Moving Subjects like People Dancing or Real Estate video in dark rooms.
So in low light situations we can’t raise our aperture so that rules out option #3. In the situation of someone dancing like a bride and groom at a reception venue, I would want smooth shots so I would rule out option 2, so I’d either maintain my distance, or use auto focus. And again, if I were doing option one, I’d grab a few seconds at one distance, then get closer, refocus, and grab a few more seconds, then change distance or focal length, reset focus and grab a few more seconds, and that way you can cut between different distances to create the illusion that you had multiple cameras there.
In the case of shooting a dark real estate room, I need a smooth shot, I can’t raise my aperture, and I can’t use my auto focus because I’m using a manual only lens. I can’t maintain my distance from my subject either because I want to do push in shots on all my rooms. So here’s what I do; I decide what will be the main focus of my shot, usually whatever is in center of my frame, then I will pick the distance at which the pinnacle of my shot will be taking place, I set focus, and because I can’t even use my photo auto focus trick since this lens in manual only, I’ll use the magnifying glass tool to zoom in as far as I can, manually focus my lens, then I back up, do my shot pushing forward, and then make sure I film a little bit past my focus point. Then in the editing room, I make sure to edit so that I’m using the part where my focus was set best. Now, this method won’t always give you perfect focus for the entire shot, but it will give you perfect focus for a second or two, and usually that’s enough especially for a real estate video. Also keep in mind that when you use wide-angle lenses, more is going to be in focus anyway so it’s much harder to tell if something is out of focus when you use a wide-angle lens as long as your focus is set relatively close to your subject.
Moving on to some other scenarios:
Scenario #4: Fast moving subjects like action sports
I probably wouldn’t ever use auto focus for a situation like this, but would most likely use a high aperture to keep everything in focus.
Sometimes what I’ll do is just pick a certain spot where the best action is going not happen, set my focus for there and let my subject come in and out of focus but they are in focus during the most important part. Because your subject is moving too fast you can’t just follow him with your camera.
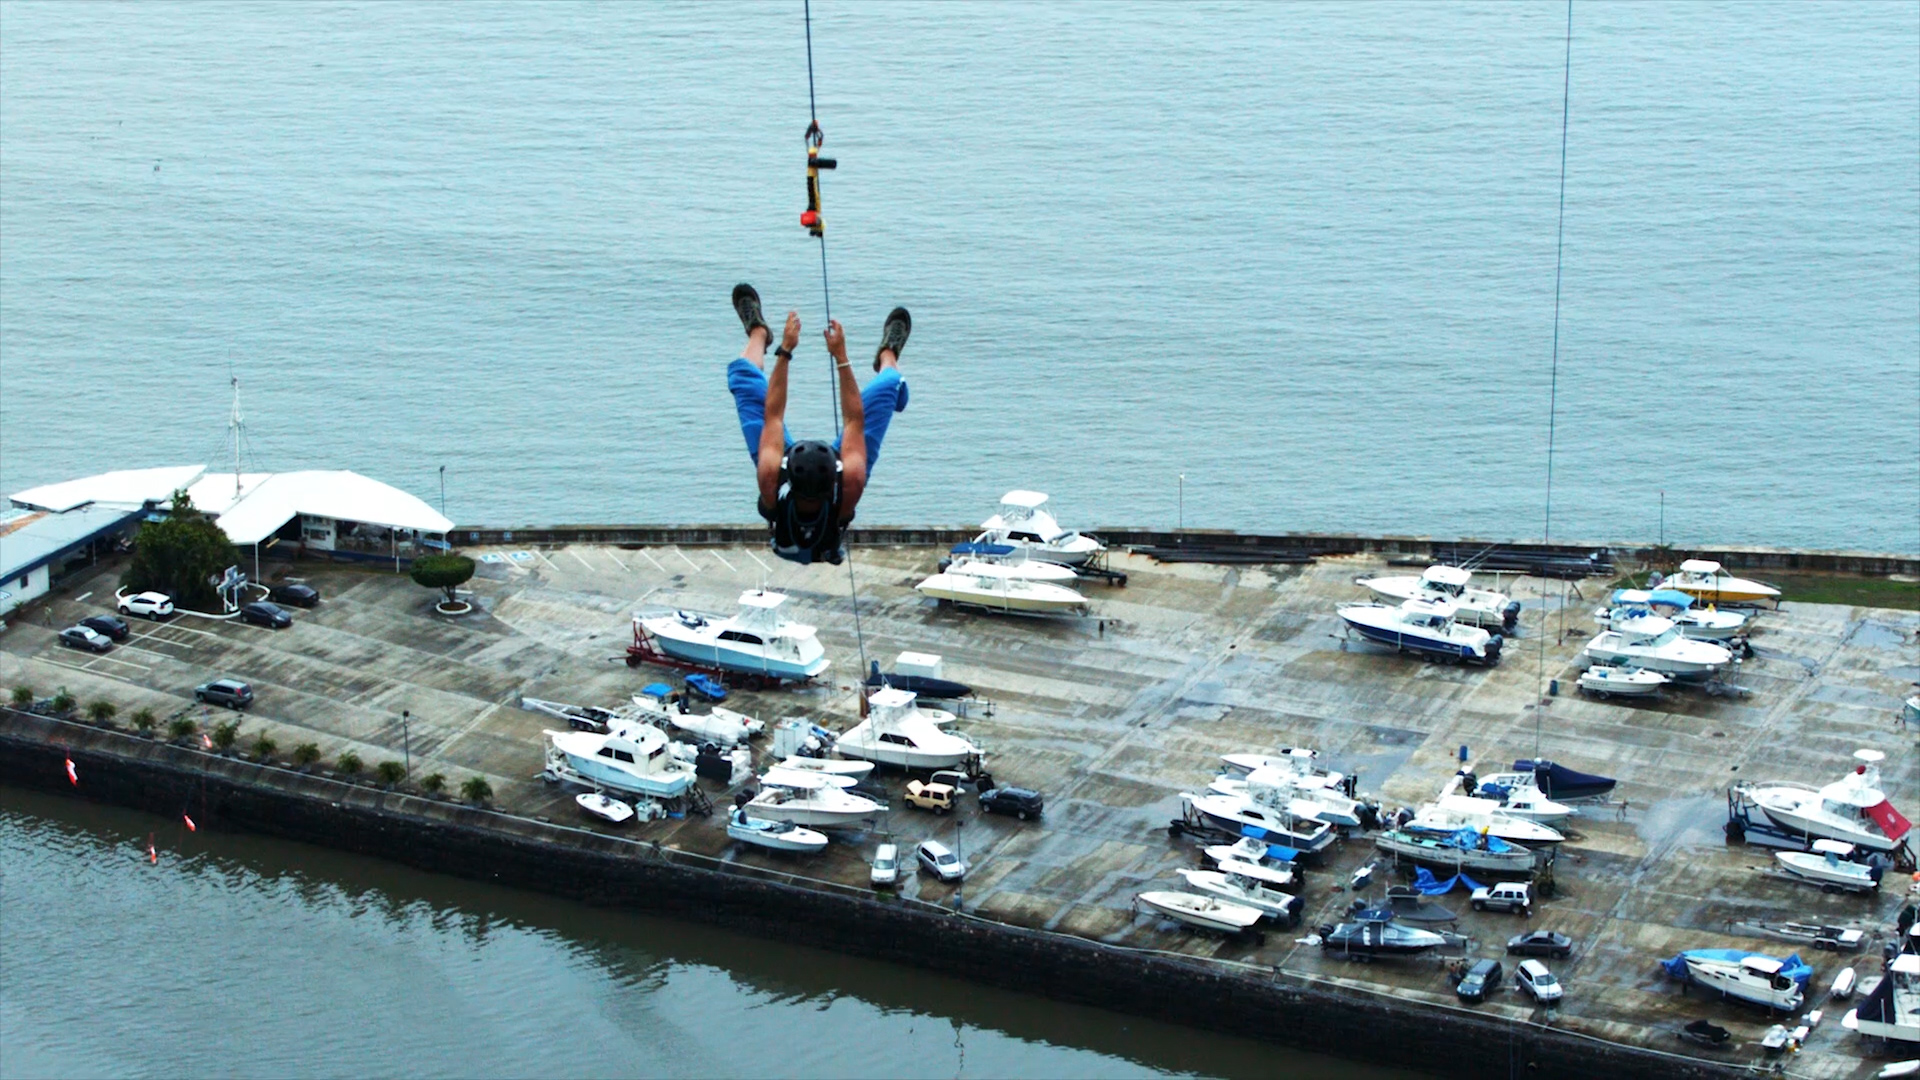
For example, I shot this Panama zip line shot from like 50 meters away from my subject and the subject was moving away from me so I set my focus for the point where they let go of the zip line since that was the most important part to capture, and I was ok with my subject being out of focus leading up to that point.
Or on this canal kayak, I actually had my aperture higher on this one, but I also set my focus for about 2 meters in front of me since that was the pinnacle of my shot and the part that wasn’t to be in focus.
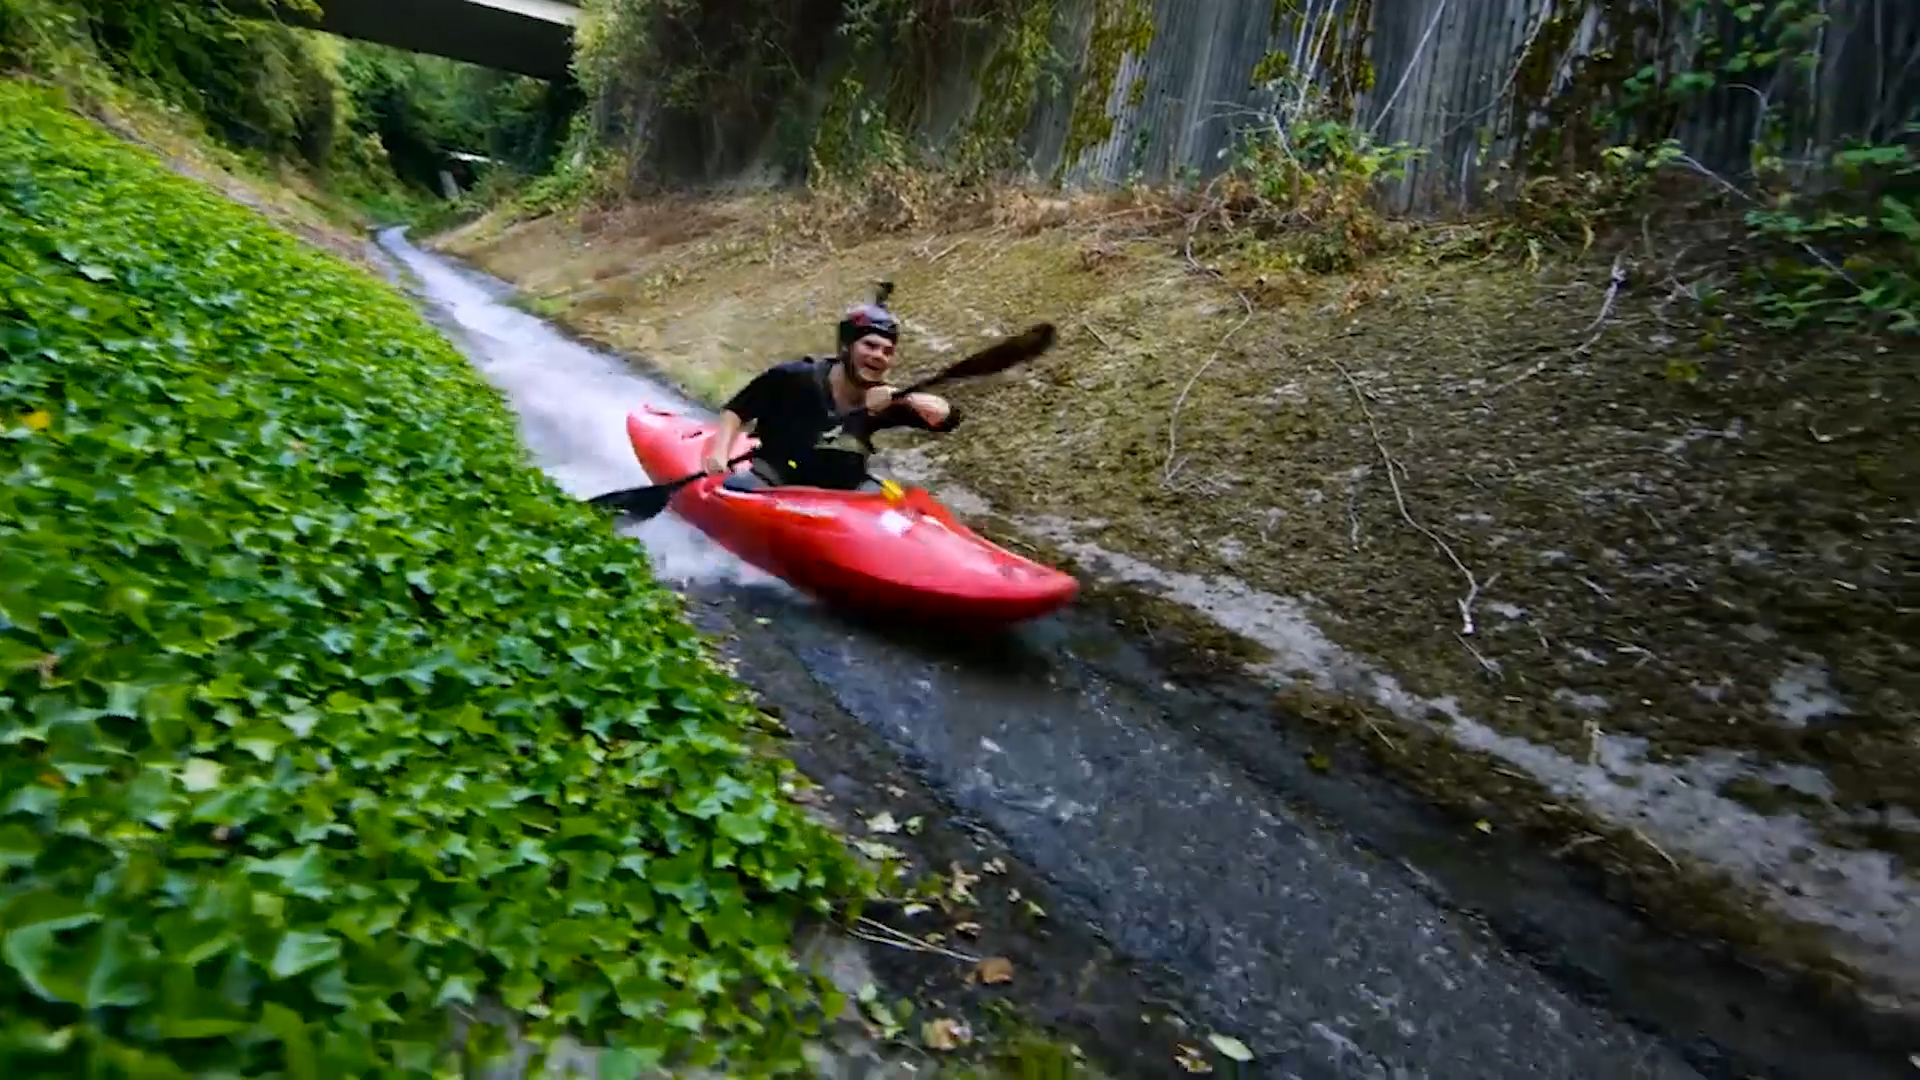
So a lot of times you just have to pick a specific spot to focus on and wait for your subject to come to that point. Keep in mind you need to keep a high aperture for these types of shots to keep that focus. My subject isn’t in perfect focus in the picture above because he hasn’t quite entered the location I set the focus for.
Also a lot of times with action sports, the action isn’t close to you for very long so a long lens on a tripod might be more effect in which case you can manually rack focus to keep up with your subject. This is also similar to a scenario where you are stationary on a tripod, but have someone moving toward you. If you don’t have auto focus then your only option is to manually rack your focus. I’ve done this for commercials in the past and it took about 6 takes for me to get the focus pull perfect so it’s definitely doable, just usually takes more tries.
Scenario #5: Unpredictable Subjects
This is when you don’t know where your subject is going to go, it isn’t planned out, but you need to keep them in focus.
Like I said earlier, one of the best ways to capture this would be option #2 which is going handheld and continuously changing focus. One situation I encounter a lot when I am filming a wedding for the Church of Jesus Christ of Latter Day Saints, is the couple comes out of the doors of the temple they were just married in, they break off and start going all sorts of different directions hugging people all around them every which way.
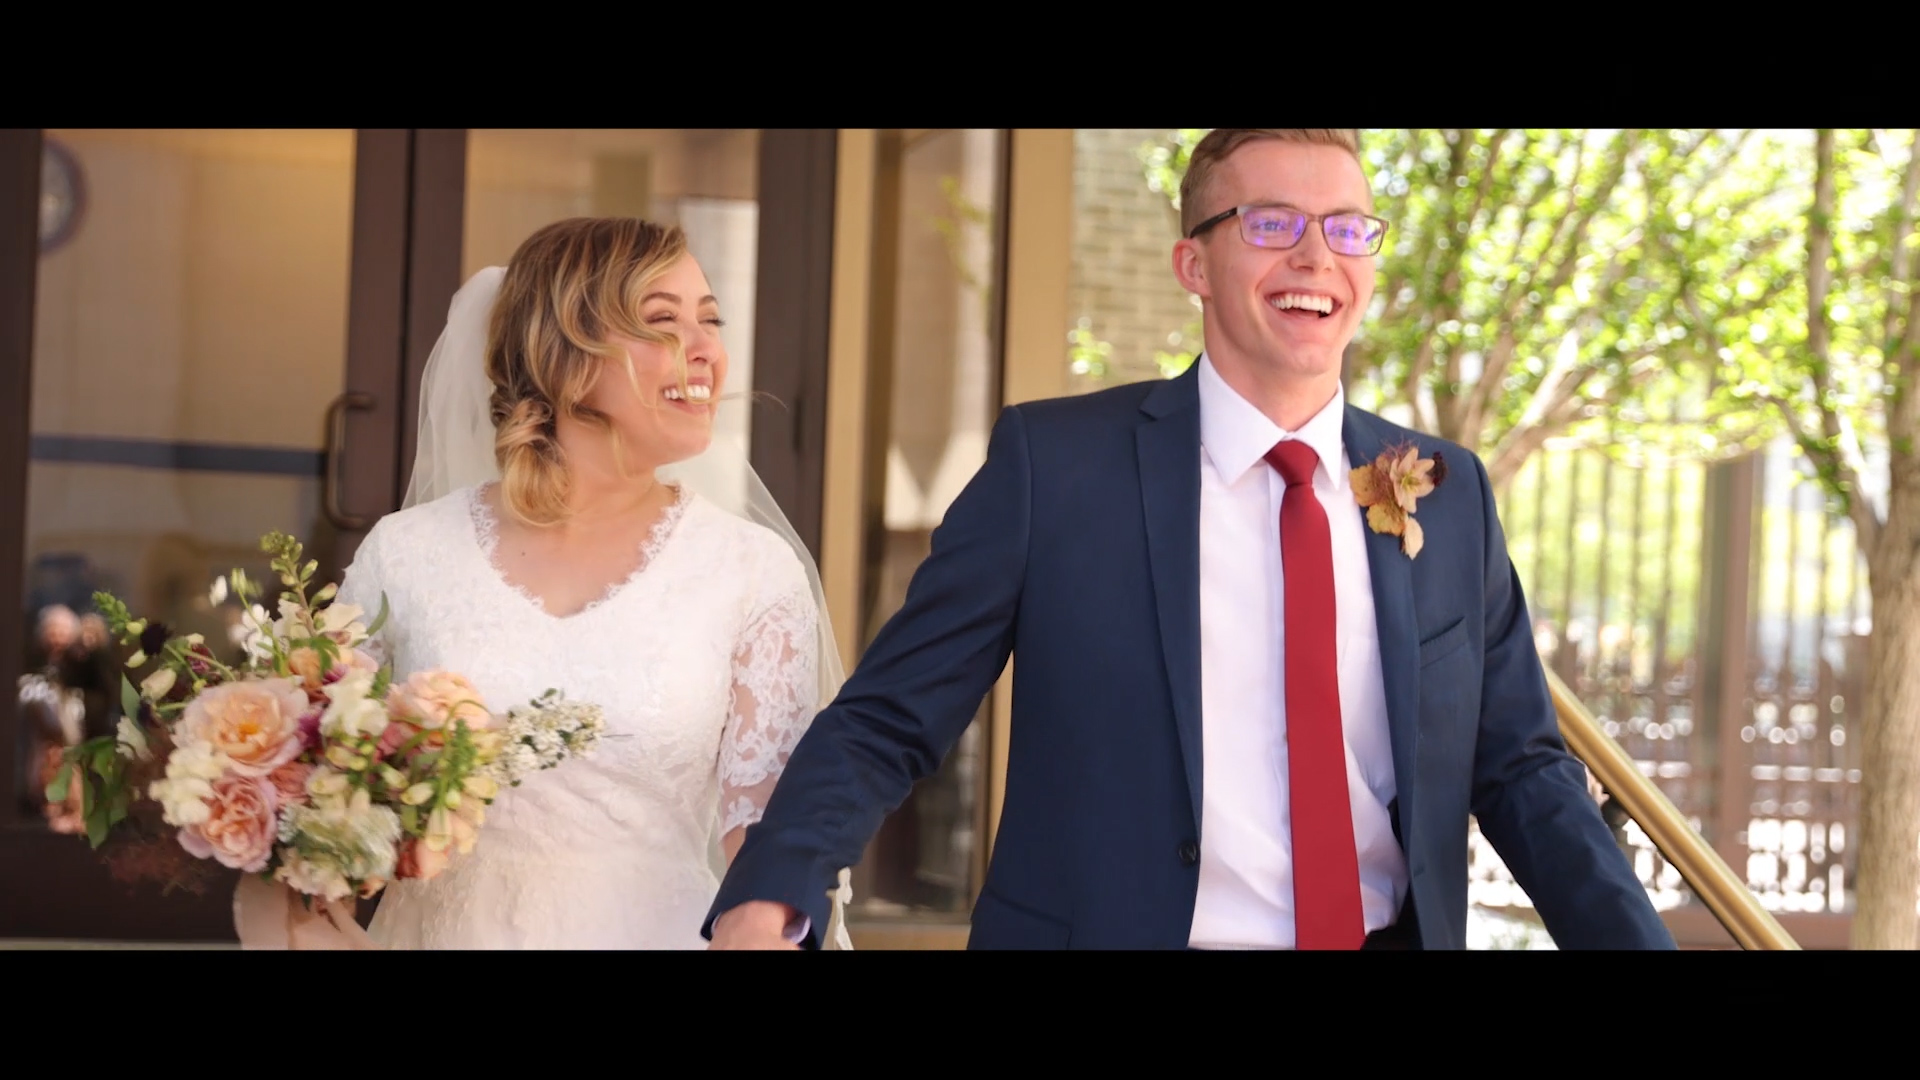
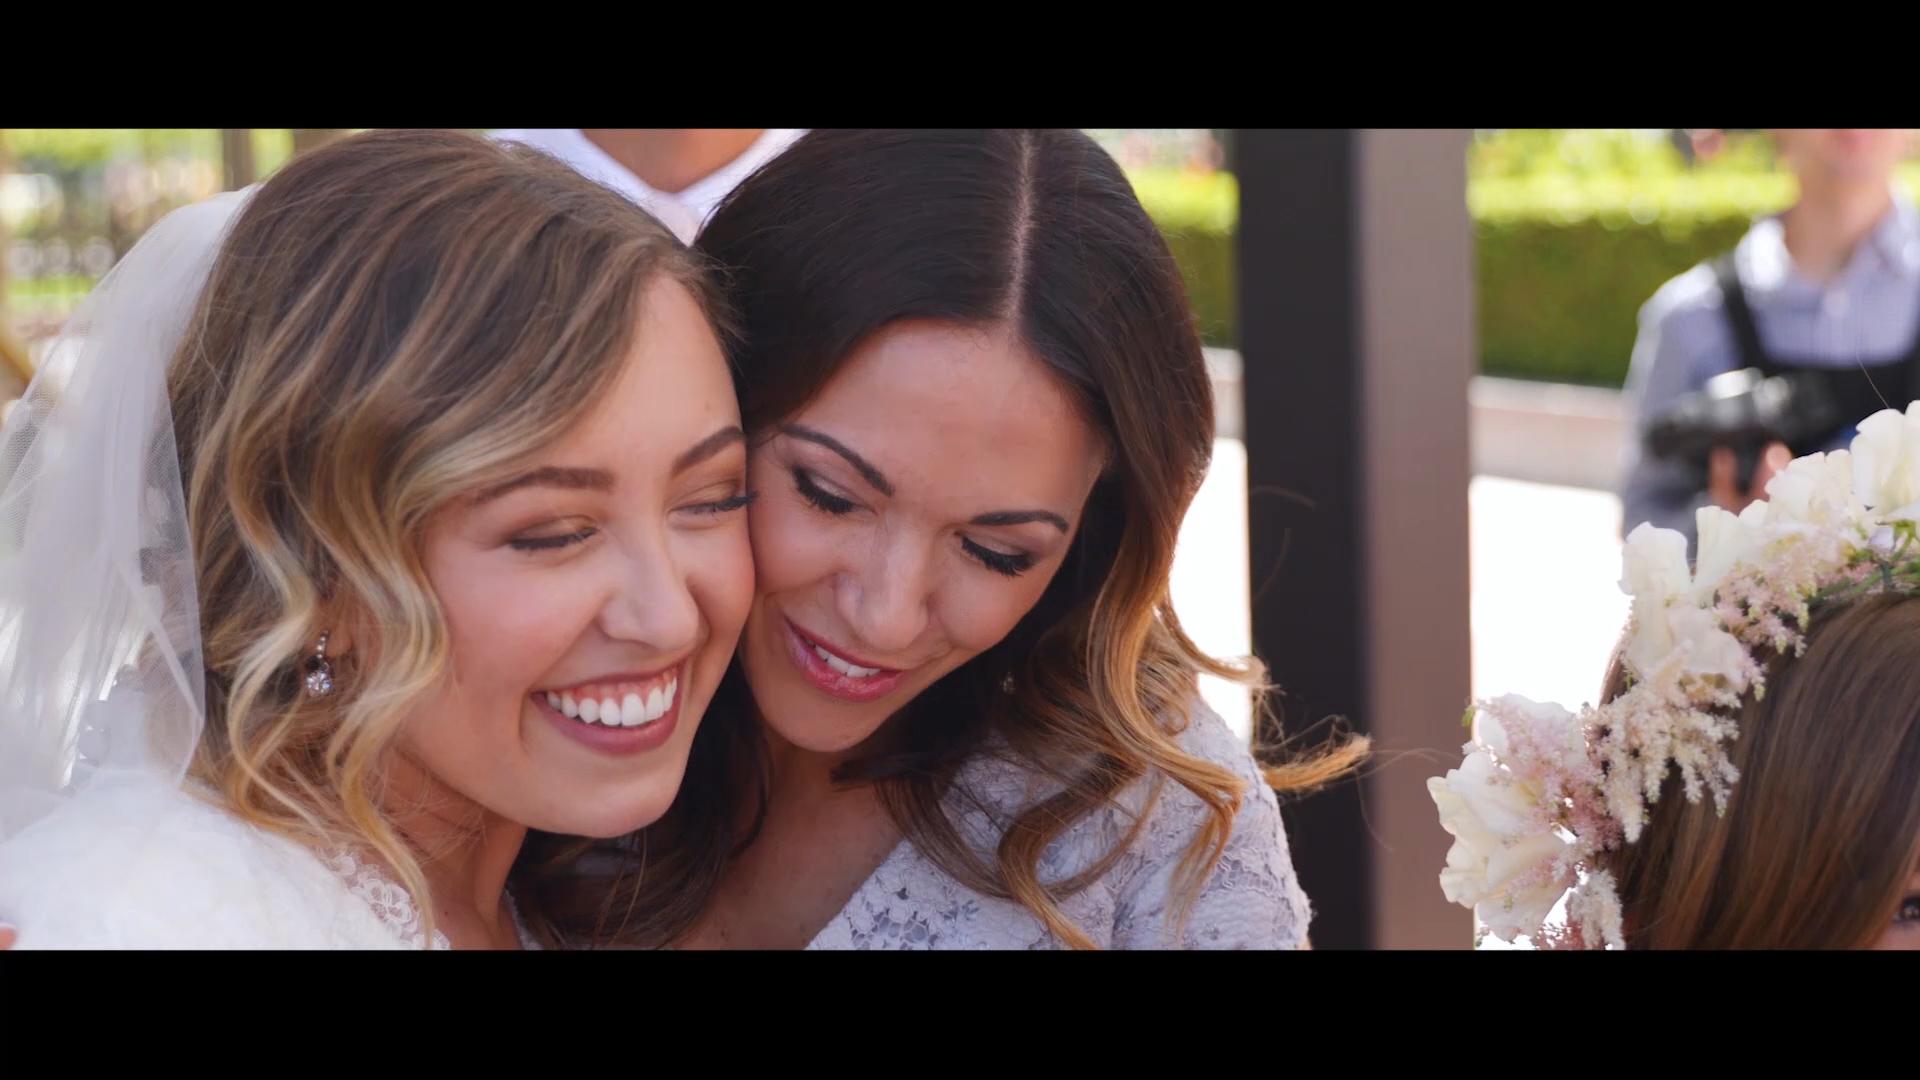
To get around this, I will start off in FlexiZone Auto Focus, then once they split up, switch my camera to Manual Focus and rack focusing the rest of the way.
For a situation like a dance, if possible, I’d have them practice the dance a couple of times and try to memorize their movements as best you can…. But for the Peter Hollens music video I shot.
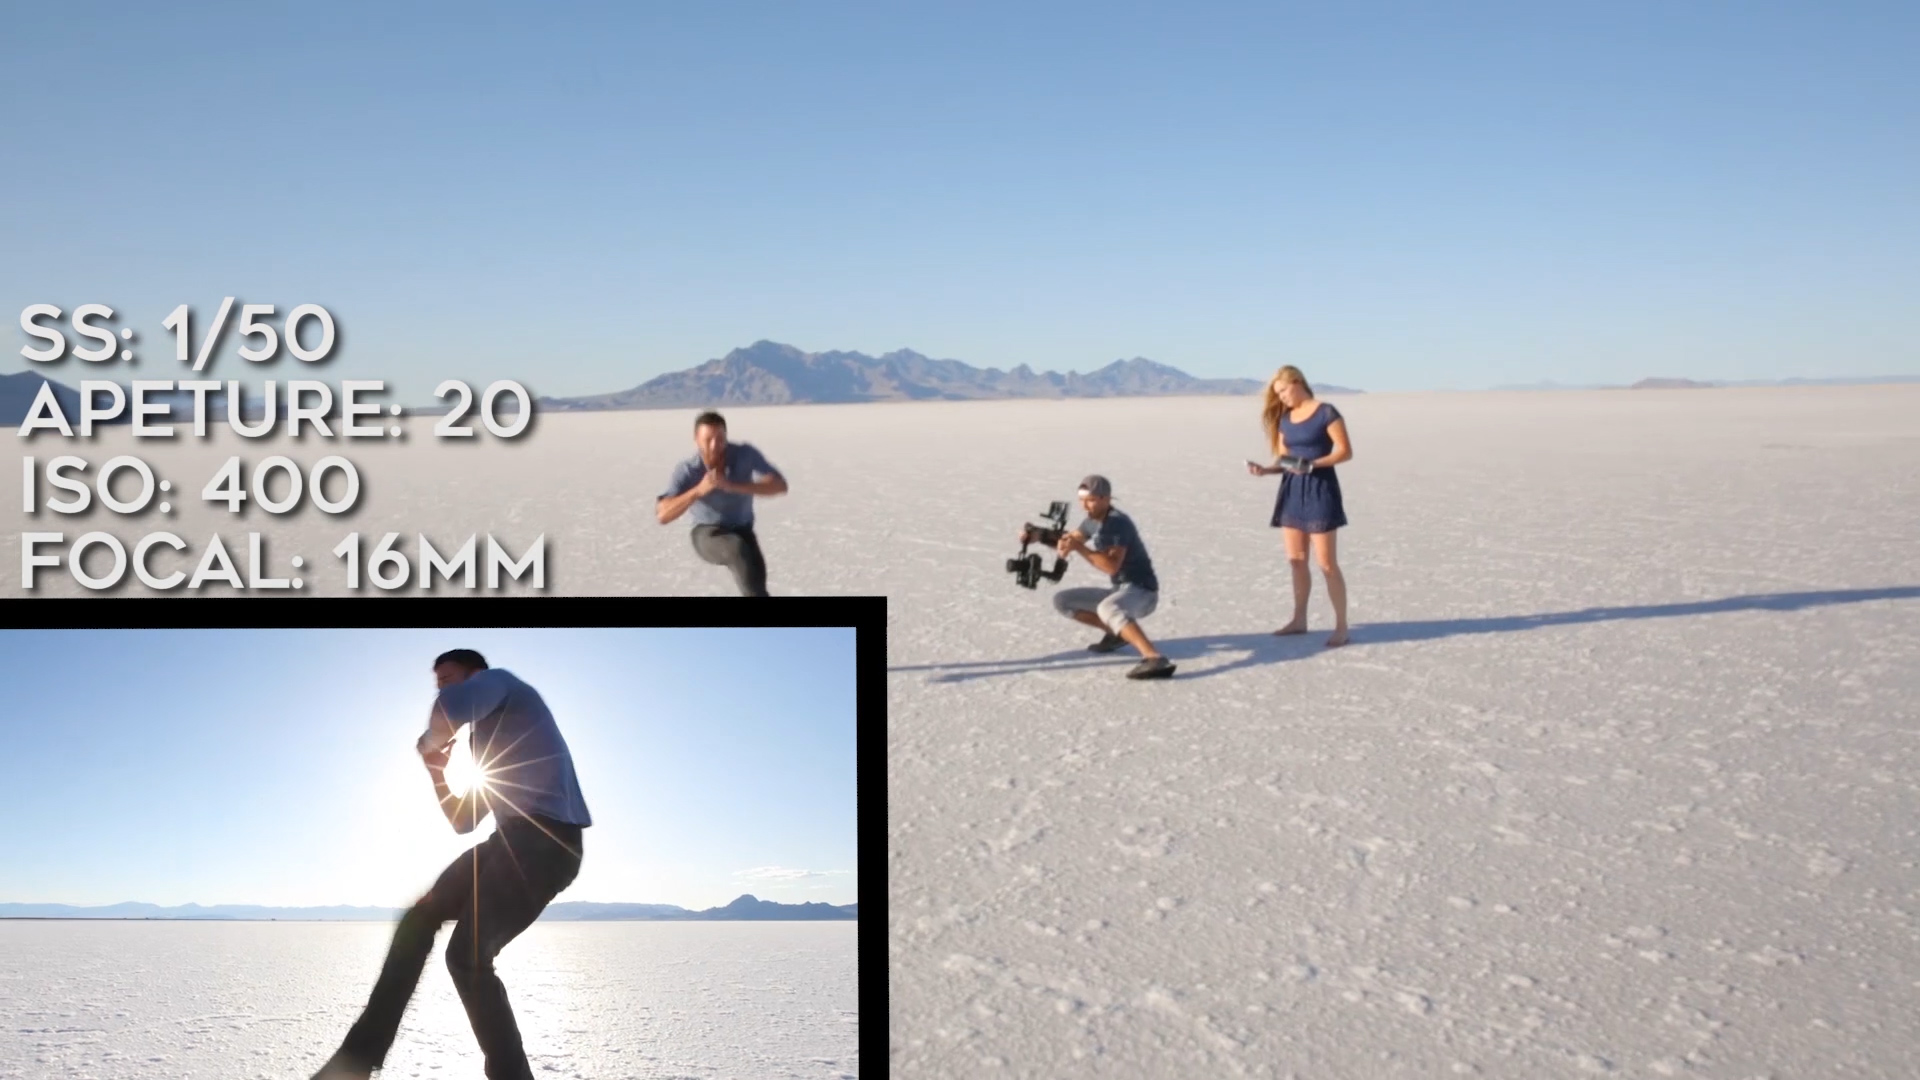 I just raised my aperture since the landscape was part of the beauty of the shot and that allowed me to move in and out while keeping everything in focus. Again I was also using a wide-angle lens on this one so that also helped.
Scenario #6 An Interview with the Subject Moving Around a lot
For this scenario, I wouldn’t use option 1 because most of my interviews are on a tripod so I couldn’t move the camera as they move. I wouldn’t choose option 3 because I think interviews look better with a shallow depth of field although this is an option if you don’t want to be fiddling with the focus ring. But I prefer to use option 2, manually adjusting my focus ring, or option 4, auto focus. Option 2 isn’t ideal because I have to sit there and watch super closely and try to match their every movement. So if auto focus wasn’t an option, I normally just let the focus stay put and allow them to move in and out of focus. Unless they make a permanent shift, then I will adjust the focus, but if they eventually keep coming back to the same spot, I’ll just leave my focus point.
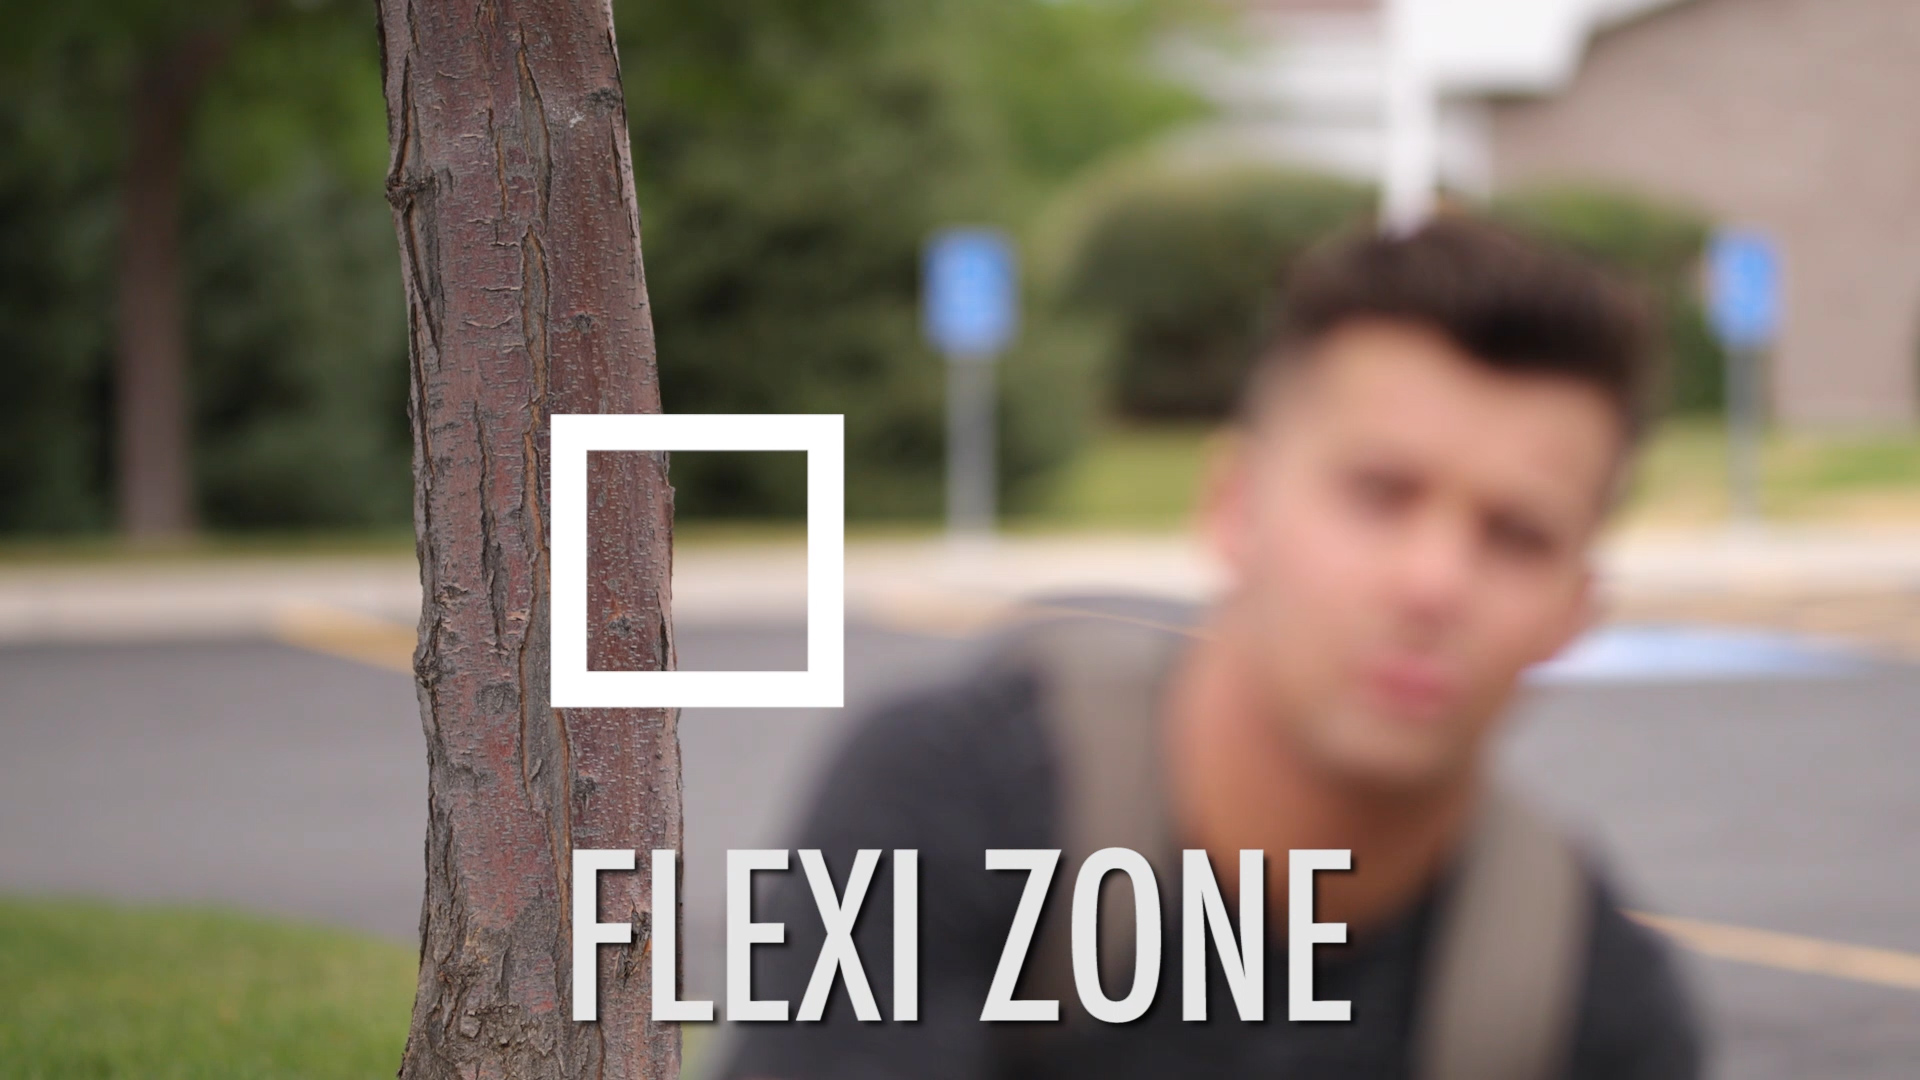
The ideal option in this scenario is option 4, using auto focus. And this is one of the cases that I would use the tracking setting instead of the flexizone, because with flexizone, they may be moving in and out of the square, but with tracking, I can select the face and it will track it no matter where he moves. This is the setting I use for my tutorials of me sitting in front of the camera because I don’t have anyone behind the camera to adjust focus, so I rely on the auto focus to continuously track my face.
Now let’s take this scenario one step further.
Scenario # 7: Walk and Talk interview
For this scenario, I would bring option 1 back into the picture because now that I am moving, I can maintain the distance once that focus is set. Option 2 could also work if I’m ok with more of a handheld look. Option 3 could work unless I want a shallow depth of field. And option 4 would work as well, so there are plenty of options for this scenario.
Scenario #8: Revealing Objects
This is when you have your subject in the background and an object obscuring your subject in the foreground.
In this scenario you have a subject that at some point in your shot, gets obscured by something else. So option 4 doesn’t work great for this because your camera will focus on something else once it loses your subject. So I usually use option 1 for this and just maintain the same distance.
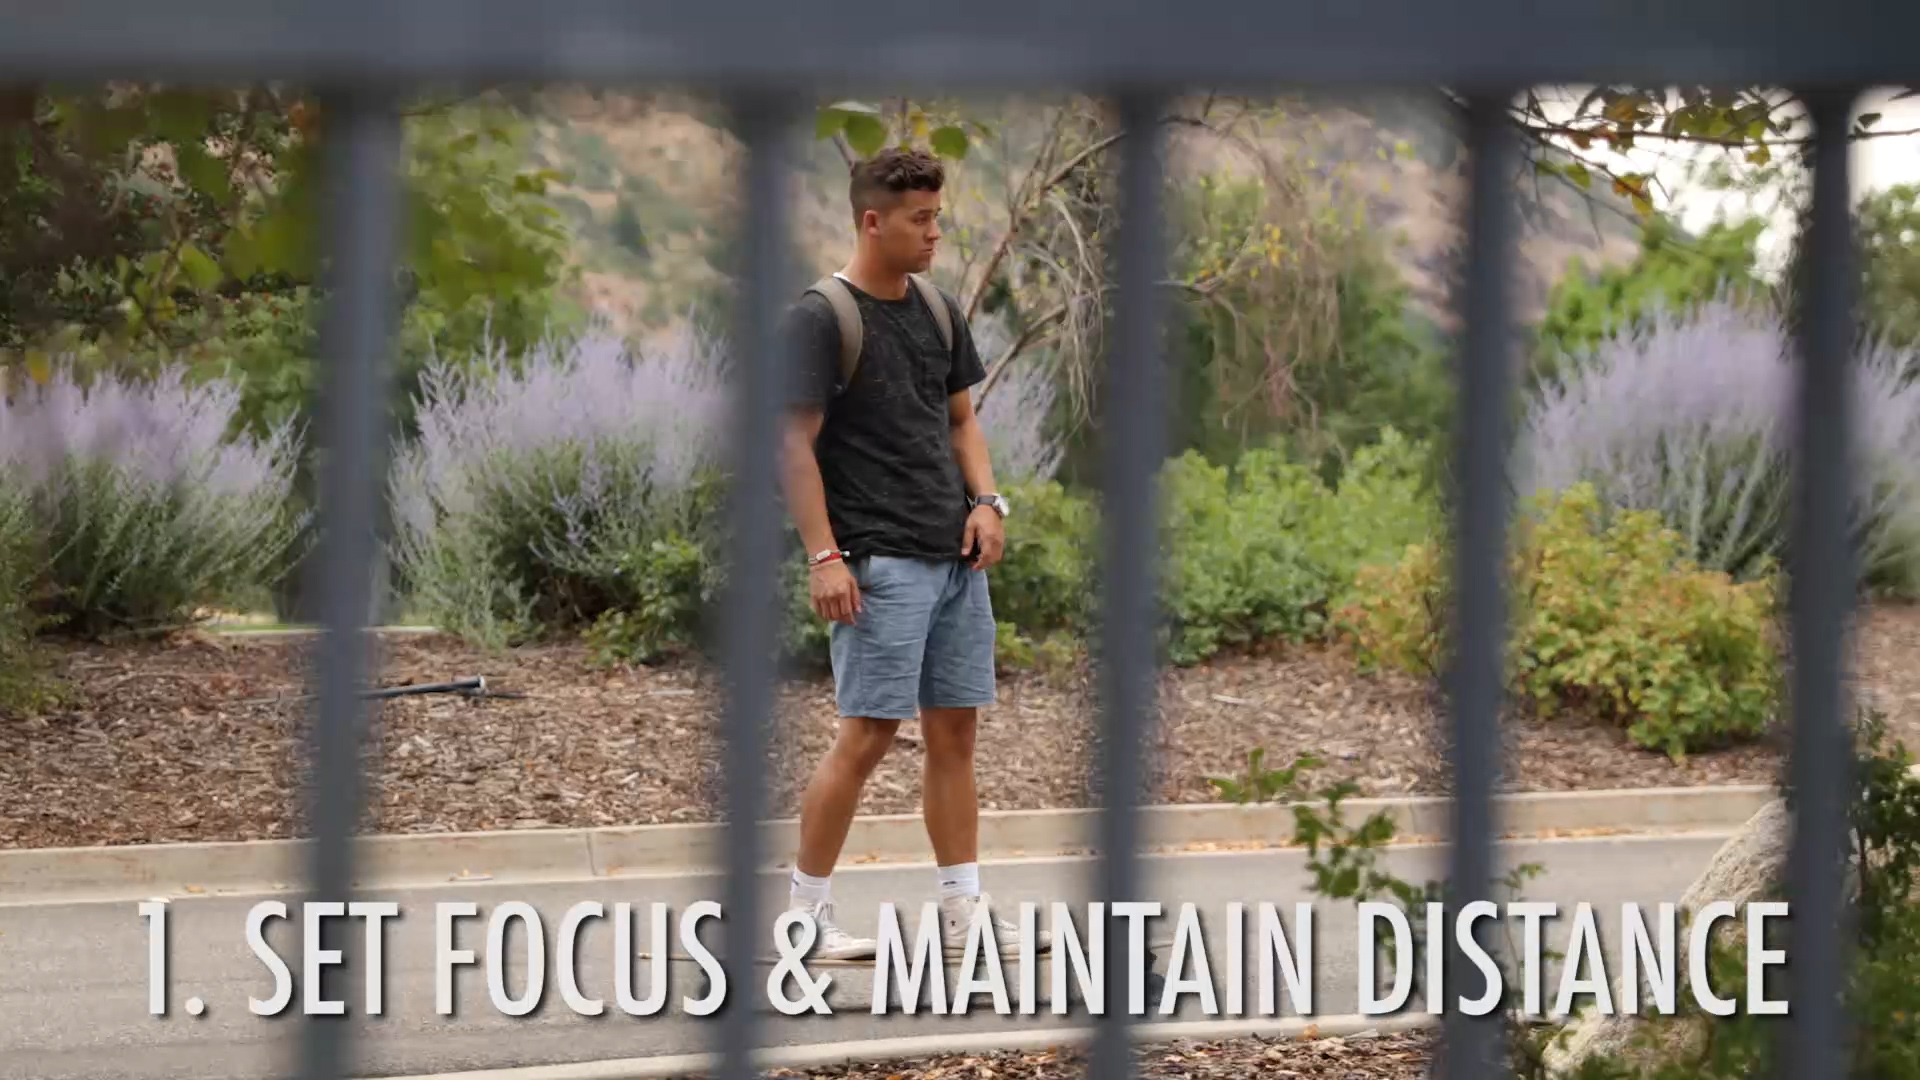
If I wanted to reveal a subject AND move closer to the subject, then I would choose option 3 keeping more in focus and allowing me room to move forward.
Now there are cases where I actually like using auto focus for this situations and that’s when I want to create the rack focus effect, I’ll purposefully, have my camera focus on my foreground, then move my camera to the background and the autofocus set to flexizone will automatically rack focus for me, so that’s a fun new type of shot I’ve started doing with my autofocus.
Scenario #9: Super Tight/Macro Shots
This is one of the hardest scenarios that I come across is when I’m trying to get a tight detail shot of something but ALSO want to have some movement to my shot. This is the time when I like to use my slider as I can get perfectly smooth shots while also maintaining a perfect distance. But if I’m doing it from my glide cam, like when I’m at a wedding trying to get a shot of the rings up tight, I will either do option #1 or option #4. Usually option 3 isn’t doable because I’m in low light situations.
With option 1, the reality is, I usually have to do 5 or 6 takes until I get one with the focus perfect the whole time. Also, I’ll sometimes set my focus close, come farther away and move into my focus point for that cool rack focus effect. Option 4 is ideal for me in these scenarios because as long as I can keep my subject in that box, I can nail the focus the first time and save myself some time, but definitely doable with both manual and auto focus.
Scenario #10: Multiple Subjects
Lastly, how to keep more than one subject in focus at the same time.
Let’s say we’re doing a walking shot of two people. If I want them both in focus at the same time, I’ll film them from the front and either maintain my distance or use auto focus. If I’m filming from the side, I’ll just keep one in focus and the other out of focus and again, either maintain my distance, or use autofocus.
If your subjects are staggered (not on the same plane of focus) then you can’t keep your aperture low, you are forced to do option #3 and raise your aperture to keep both in focus at the same time.
So there you have my 4 ways to Keep Focus While Moving in different scenarios!
Summary
- In summary, for most situations, my go-to options for keeping my subjects in focus manually is usually #1 maintaining the distance from my subject.
- If I want to move toward or away from my subject, I’ll opt for option #2 if I want shallow depth of field and am ok having more of a handheld look OR option #3 of raising my aperture if I want to keep my shot smooth.
- If you want to be able to be able to keep your shallow depth of field AND keep your shot perfectly smooth then you better use a camera with a solid auto focus system. Up until a year ago, I filmed hundreds of videos with only those first 3 options, so it’s definitely doable, the auto focus just opens up new possibilities and news ways of capturing shots without having to make compromises.
Hopefully this gives you guys some ideas on how to keep your subjects in focus, to see part two of this video covering more scenarios, visit fulltimefilmmaker.com to join my full training course where I teach you how improve your filmmaking skills and how to land paying clients and sponsorships.
But that’s all I got, hope you enjoyed, don’t forget to subscribe on YouTube for more free content and if you have any further questions, please let me know!

