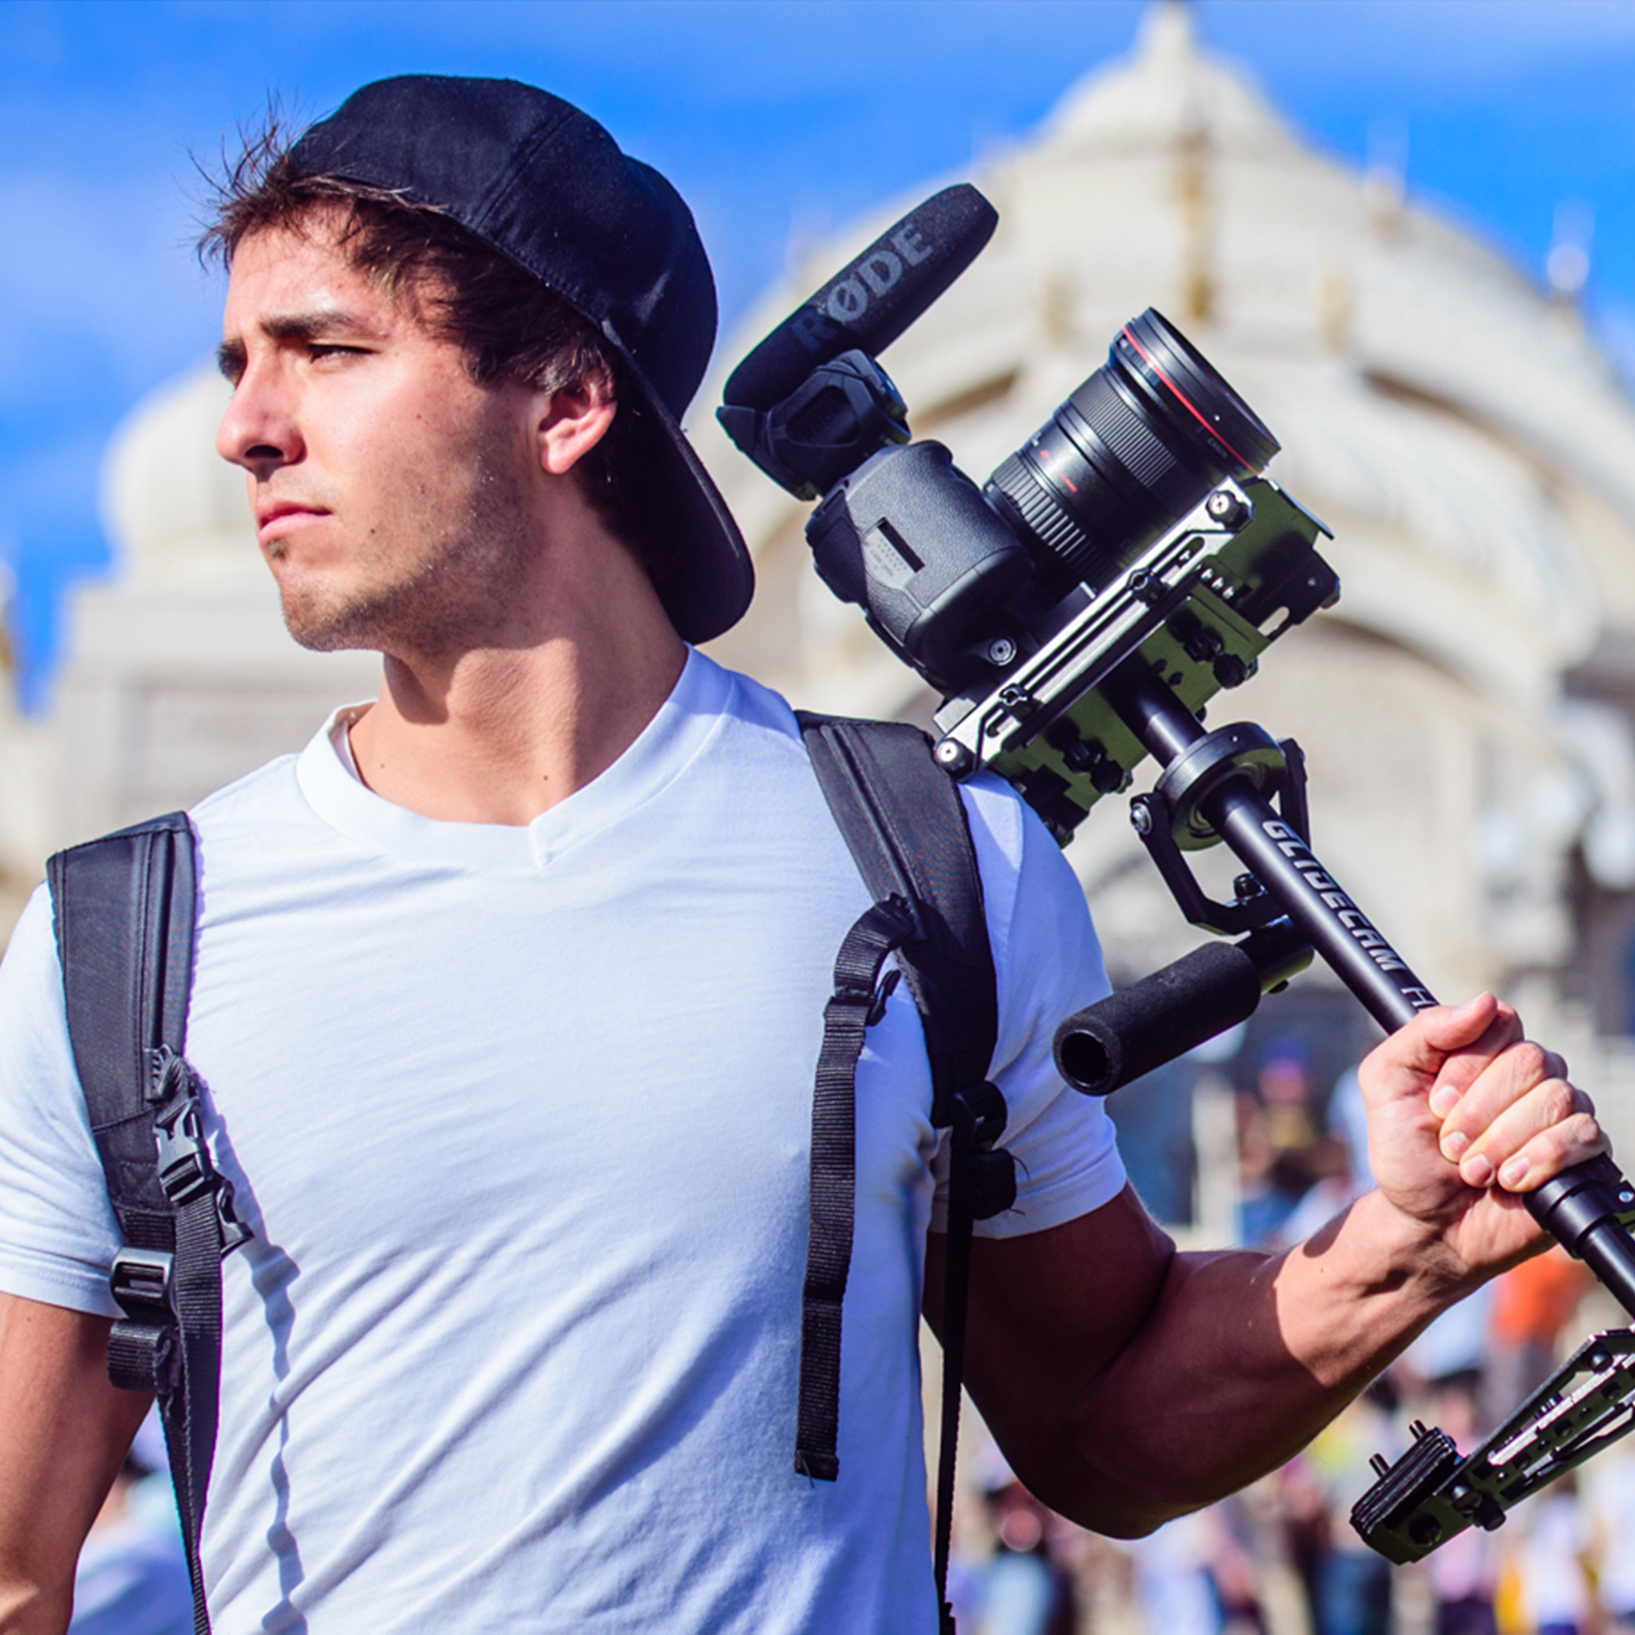
Equipment and Link
To view all of the equipment I used to film this interview click here: http://kit.com/parkerwalbeck/
In my latest youtube video, I share my 7 Step process on How To Shoot An Interview like a Pro to help filmmakers & videographers enhance the quality of their interviews. The full job shadow video can be found on my online film school Full Time Filmmaker, but here is the condensed version:
Step #1: Finding a Location
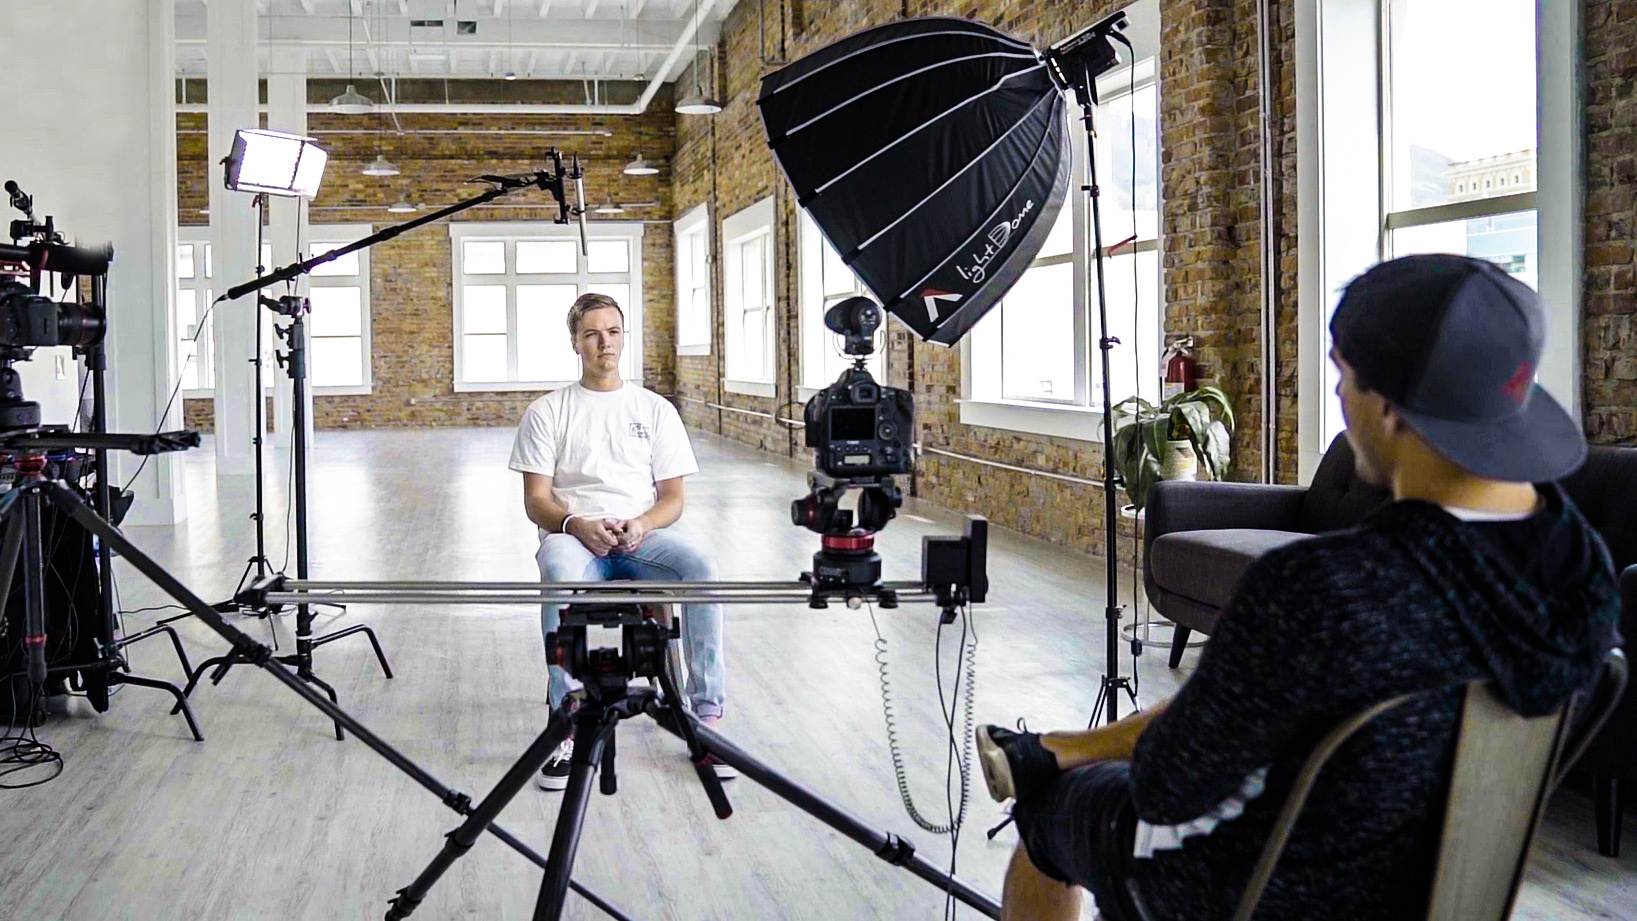
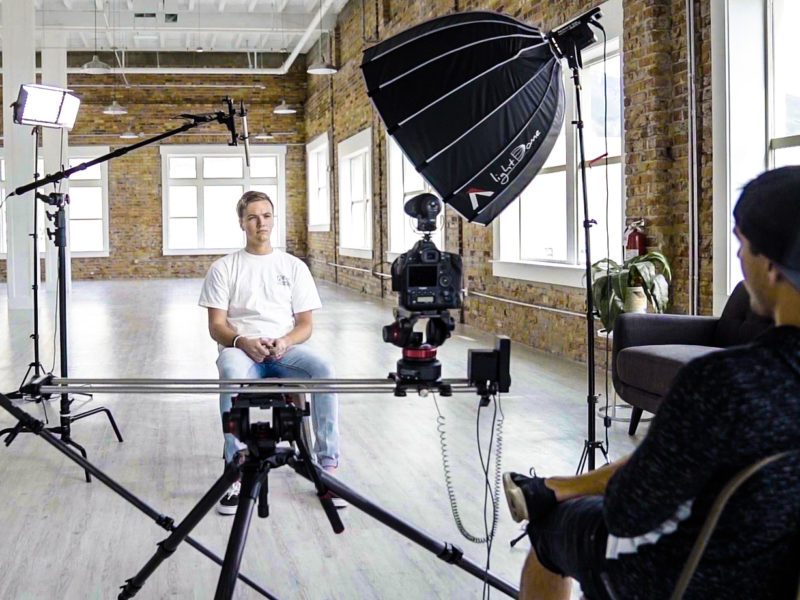
The 2 main things I look for when picking a location are 1) Lighting and 2) Composition. In simpler terms: whatever looks good! After walking around and trying out several locations in the studio, I ended up choosing this location (see photo below) because of the beautiful composition and great lighting. Notice how the subject is being lit by the natural light coming in from the windows to his left. Also notice how the windows create patterns and leading lines in the background. Lastly, I personally don’t like placing my subject up against a wall, but rather, I like to place my subject farther from the background to create depth helping me get that cinematic background blur.
Step #2: Composition
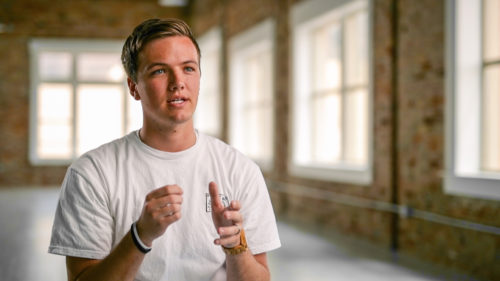
Once I have my subject positioned where I like, next is composing the shot to look great in-camera. First, it’s not just about what’s IN your frame, but also, what’s NOT in your frame. So I remove all of the equipment and junk behind our subject so as not to distract the viewer. Next, I made sure that our subject was facing towards the keylight, looking just off camera, and framing him up on the rule of thirds. For this interview, our subject was looking off camera right, so I placed him on the left side of the frame to give him looking room IN FRONT of the subject (where he is looking) instead of BEHIND the subject (which can make the scene feel awkward/tense).
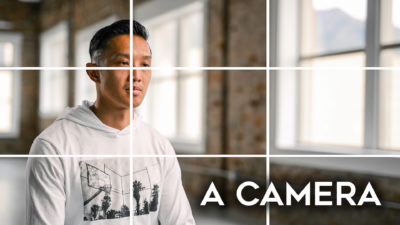
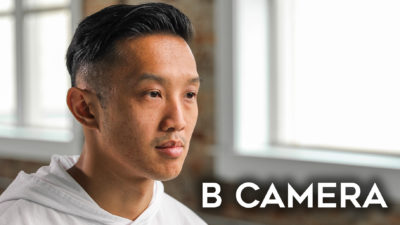
I then placed the Camera B at least 30 degrees from the Camera A, making sure once again, he has looking room to match Camera A’s framing. Also to help the two shots cut together better, I made Camera A a medium shot (from the waste up), and made Camera B a tight shot (just his face).
Step #3: Lighting
Now, even though our scene looks fine with only natural light, I wanted the subject to be brighter than than the background so he would “pop” more, so we brought in 2 artificial lights.
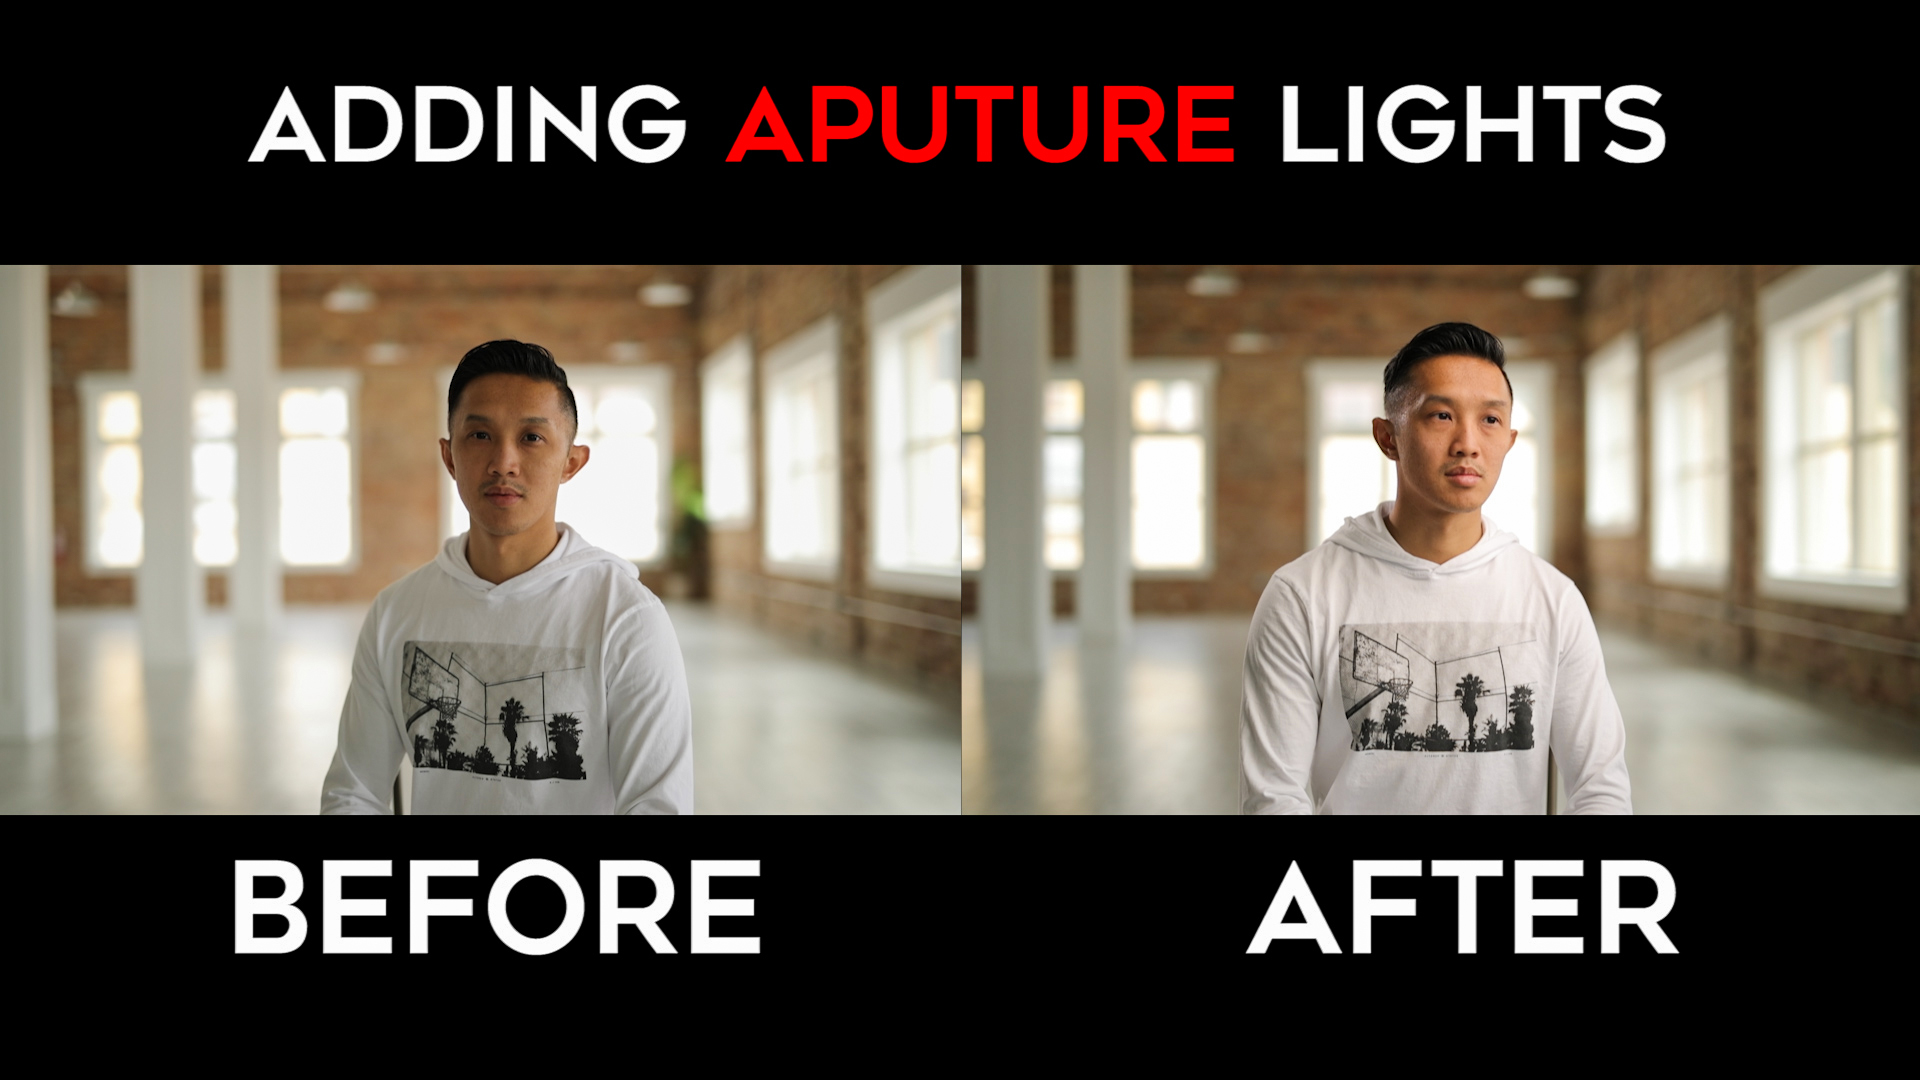
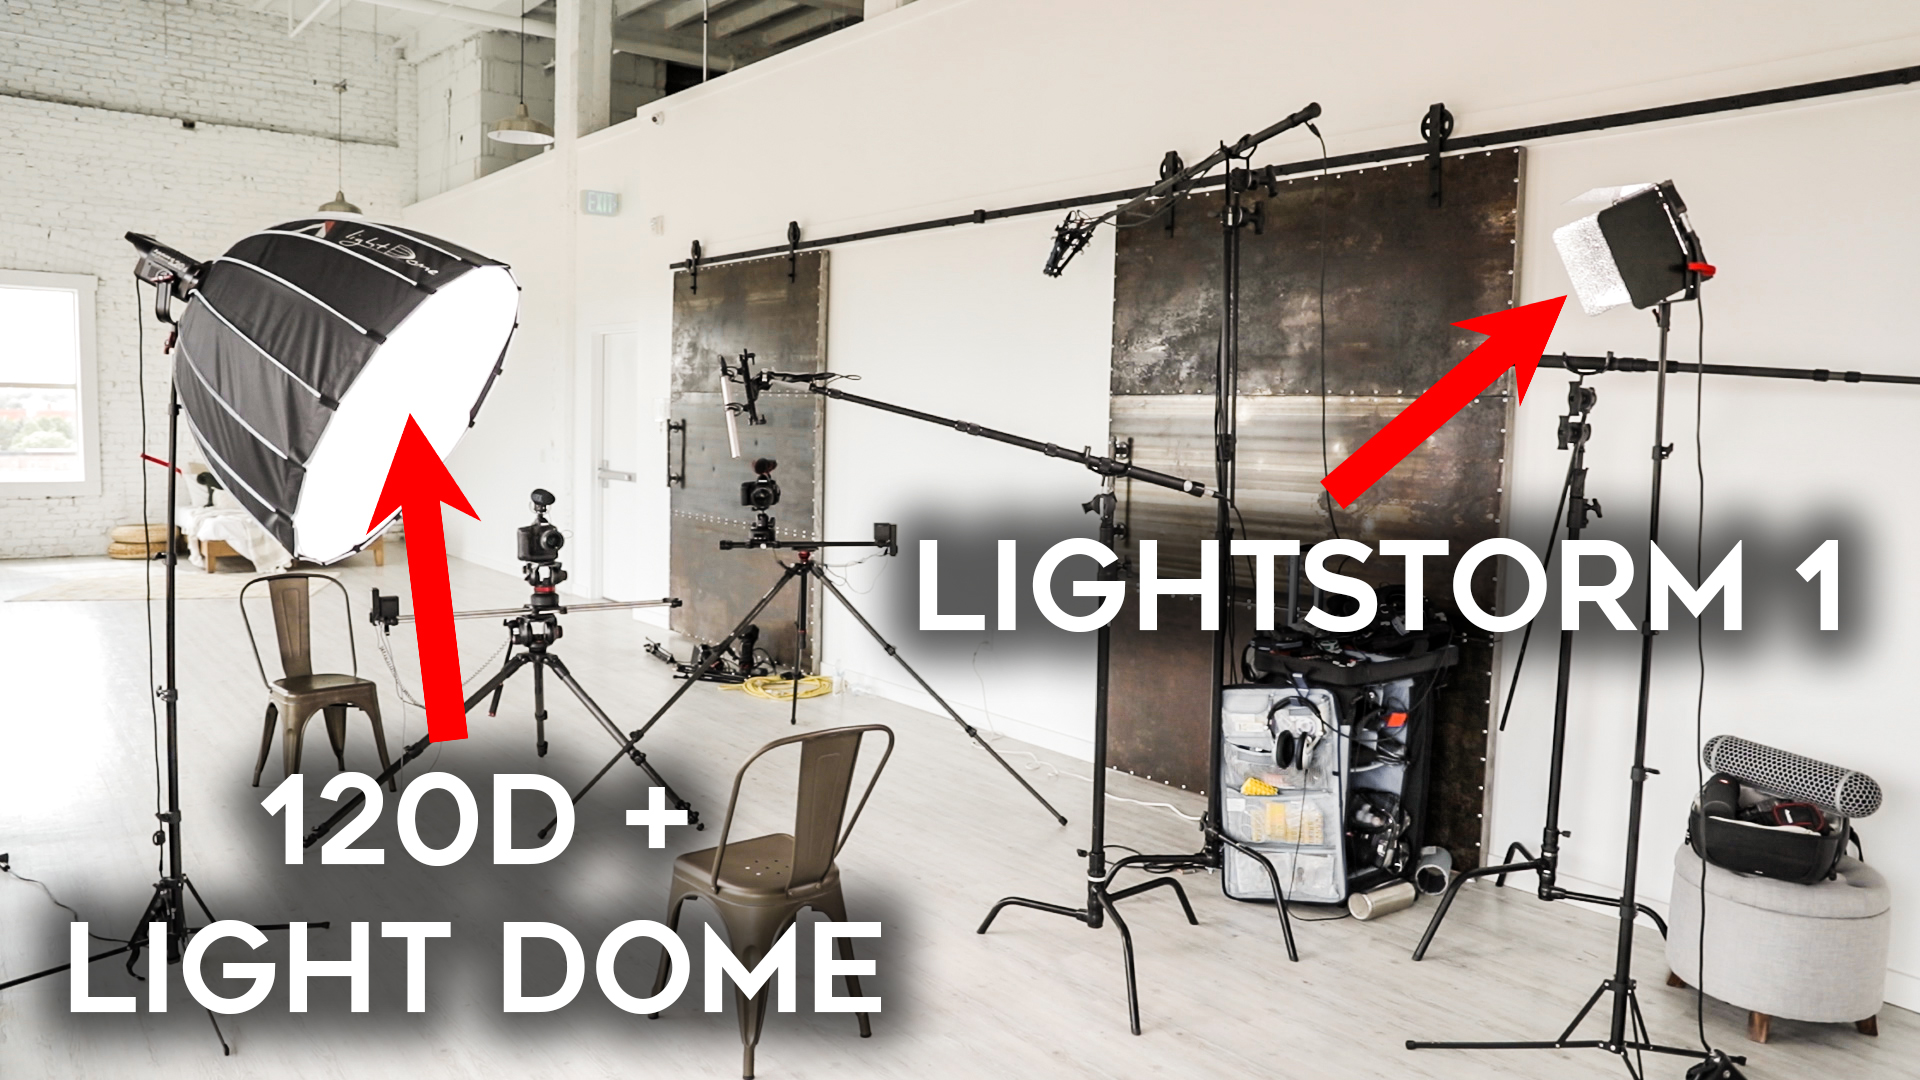
Pictured below on the left you’ll see our Aputure 120d with the Light Dome. This is my favorite, go-to “keylight” for interviews because of how soft and pleasing the light is on the human face. Our 2nd light, the Aputure Lightstorm 1, we placed behind our subject to as a“back/hair light”outline his shoulder and hair, so that he stands out even more from the background.
As you can see from the comparison above, adding 2 lights made a world of difference to our overall image.
Step #4: Audio
George Lucas said that “audio is half of the viewing experience”. Don’t take audio lightly! No matter how professional your image looks, if your audio is echoey or distorted, your whole production feels amateur. On set we had Brenden Bytheway, a professional sound engineer, handling all the audio for our production. Brenden said when it comes to audio, there is one microphone he always goes to first:
“If people ask me ‘is there one mic?’, I tell them it’s the NTG-3.”
The Rode NTG-3 boom mic was our main microphone we were using to interview our subject. Boom microphones are best placed anywhere from 8-14 inches from the subject’s face, and pointed slightly under the subject’s mouth.

Brenden’s audio levels on his receiver (I recommend and use the Zoom H6) were set to -6db for the peaks (highest volumes), and between -18db and -12db for the lowest volumes, depending on the subject’s voice.
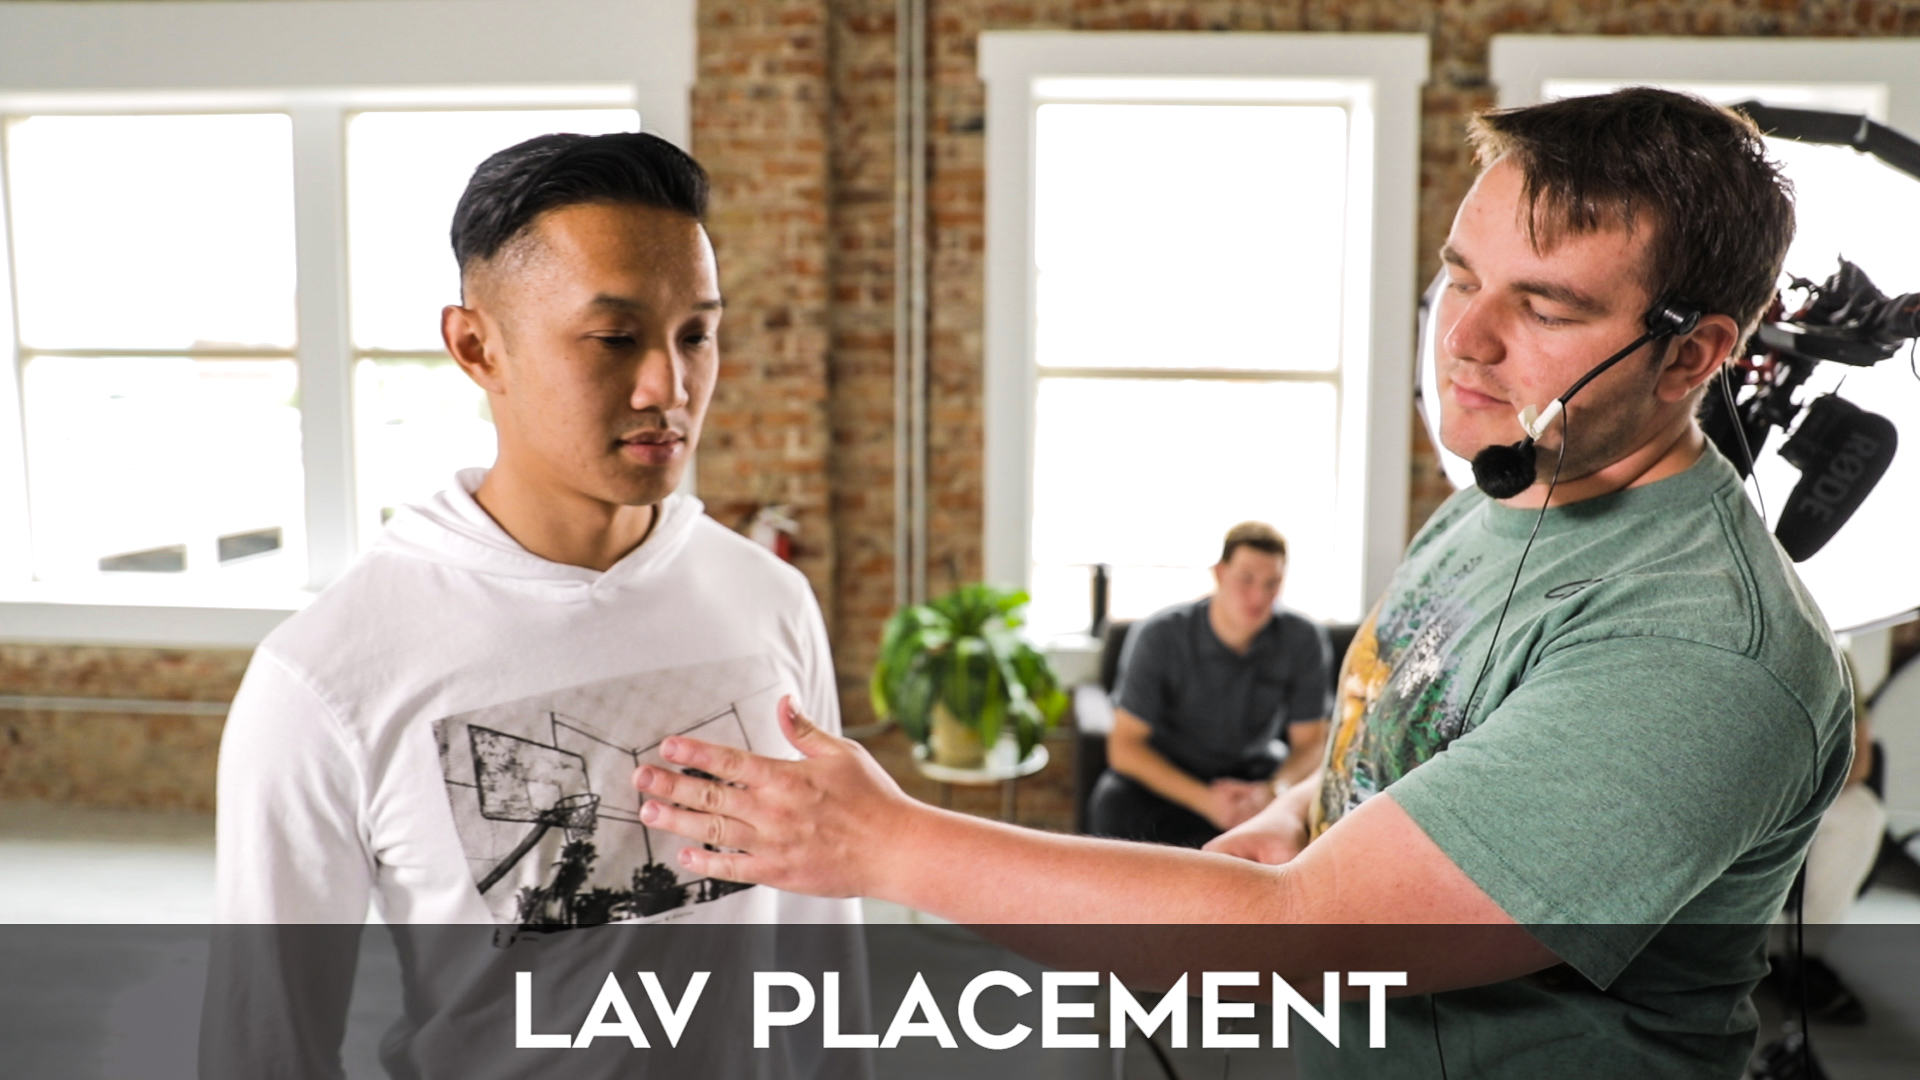
As a back up, we put a Sennheiser lav mic under our subject’s shirt just in case anything were to go wrong with our Boom Mic. The optimal placement for the lav mic for best quality sound is in the middle of the subject’s chest.
Step #5: Camera Settings
The entire interview was shot at 24fps, with a shutter speed of 1/500. Now, typically you want your shutter speed to be double your FPS, but in this case because there wasn’t a whole lot of movement, I was okay with bumping up our shutter speed to compensate for our low aperture instead of fiddling with ND filters.
Camera A was my Canon 1DX Mark ii with a Sigma 50mm 1.4f lens. I love to set the aperture to 1.4 for that shallow depth of field (blurry background).
Camera B was a 5D Mark iv, with a 24-70mm 2.8f lens.
I had both cameras on a custom picture profile of Sharpness: 0, Contrast: -2, Saturation: 0, and Color Tone: 0. Each camera’s white balance was set to 5500K to match the daylight light pouring through the windows, and also our 2 artificial lights which were set to match the natural lighting.

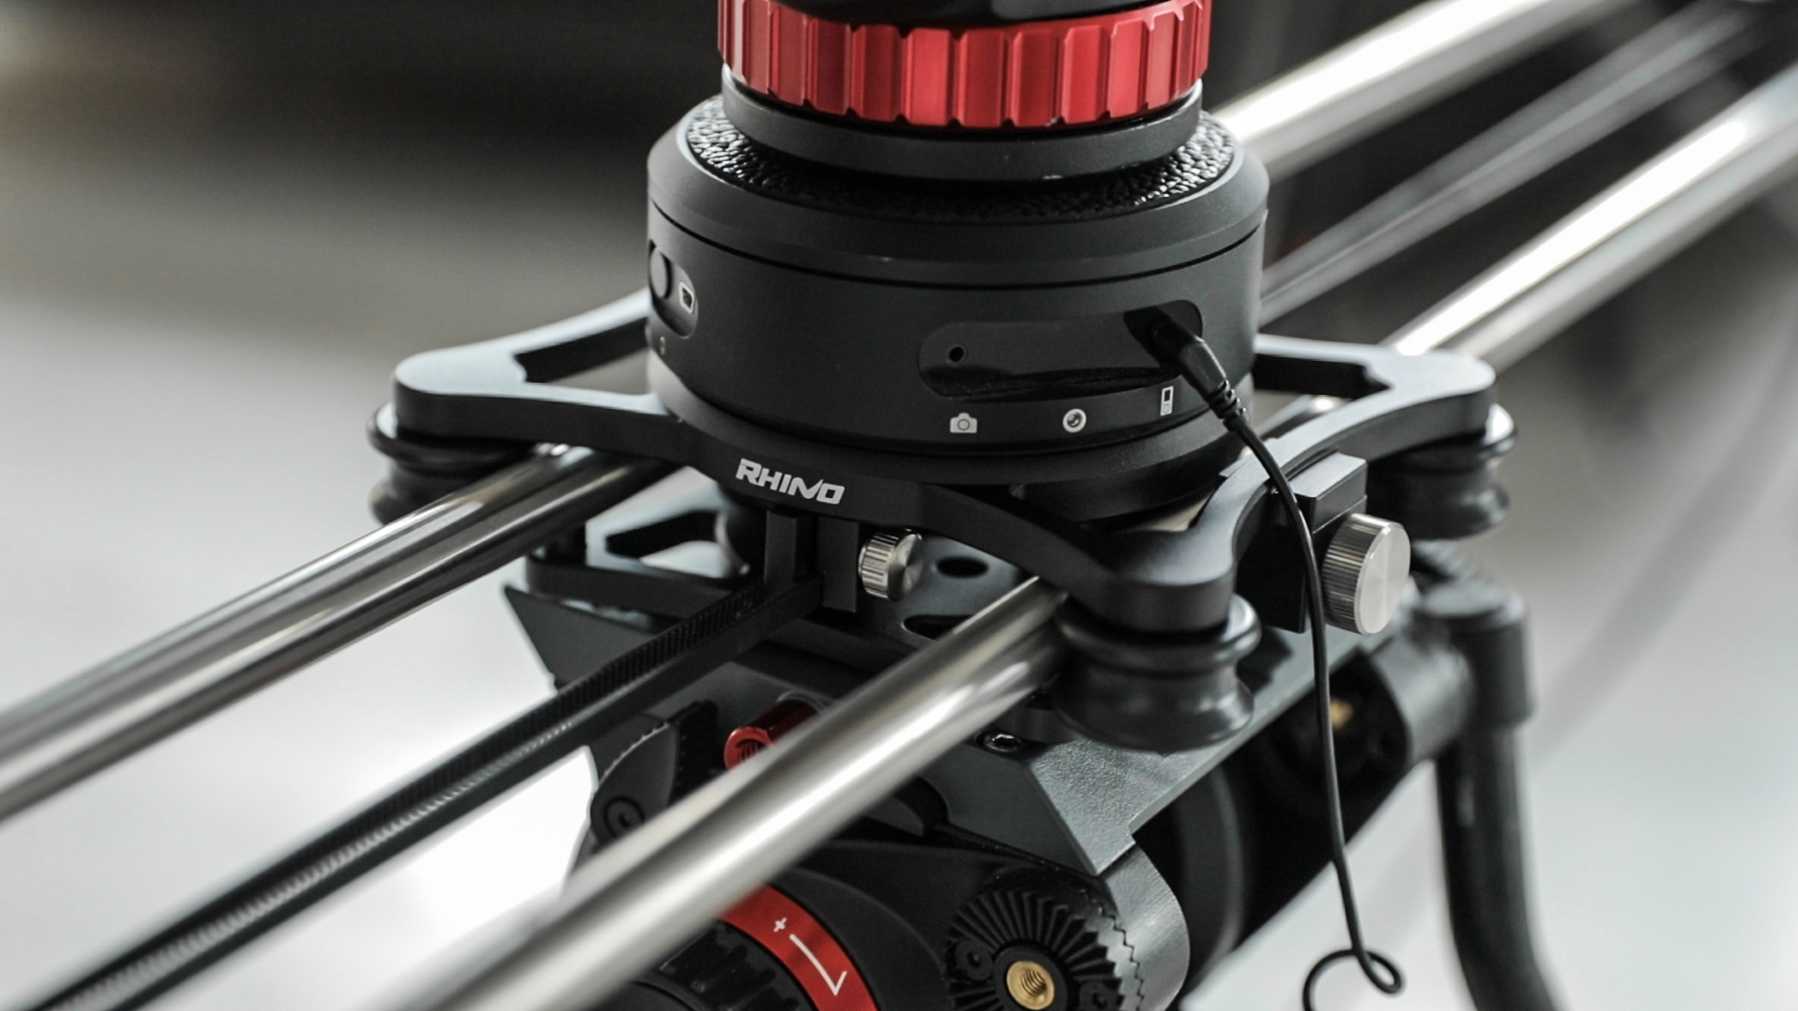
Step #6: Rhino Slider Settings
Step #7: Interviewing Process